
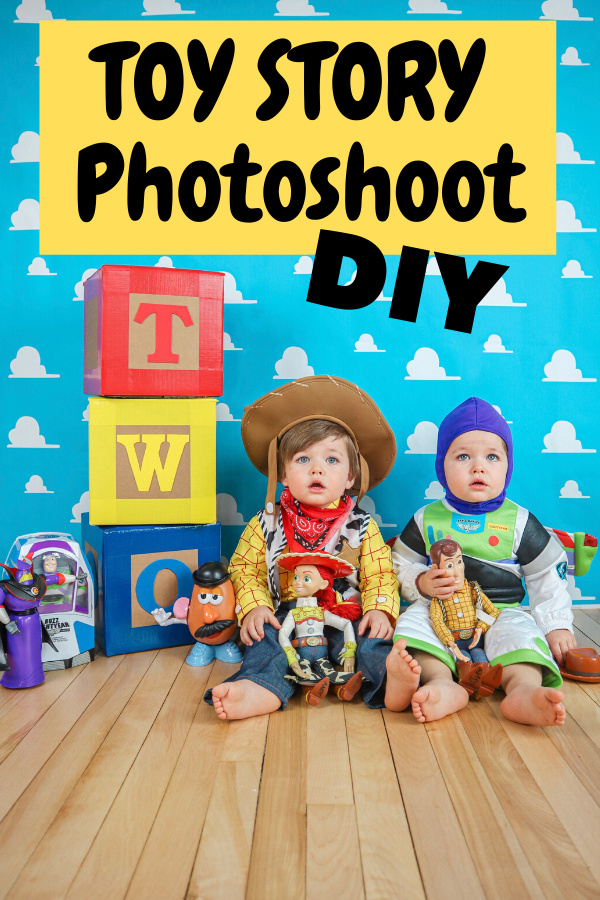
How to create your own Toy Story photoshoot
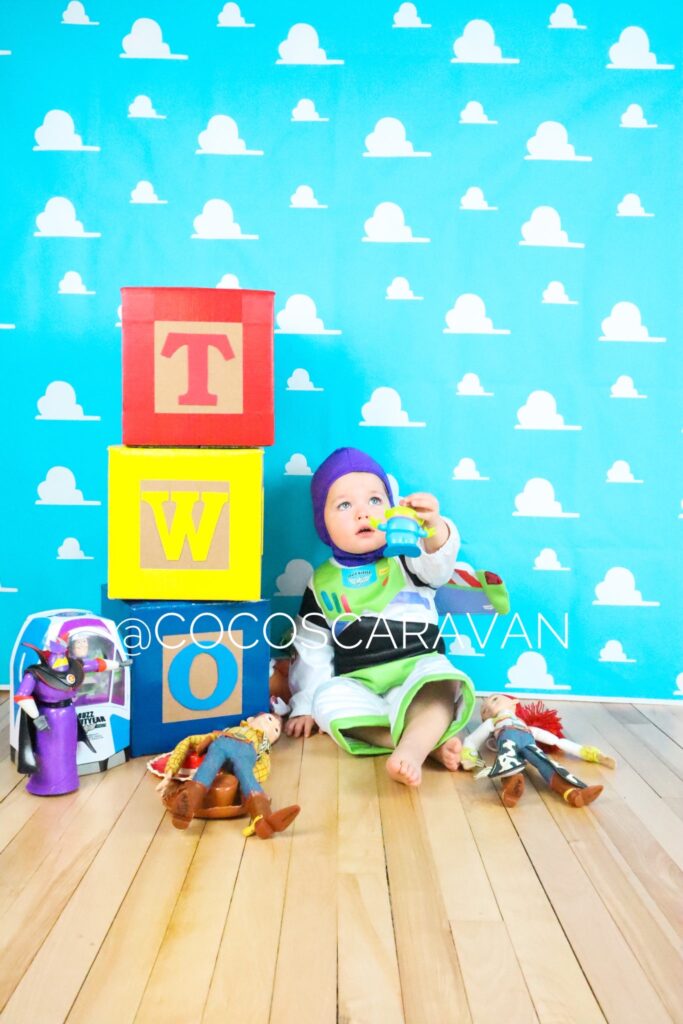
This Toy Story photoshoot turned out better than I expected! My twins are turning two and I thought the “Two Infinity and Beyond” themed photoshoot would be so fun! I will tell you everything I used to create this adorable picture!

Table of Contents
TIPS FOR PHOTOGRAPHING YOUR BABY
Toys for Toy Story Photoshoot
The props for this Toy Story photoshoot were easy because all you need are the Toys. My mom already had the Woody and Jessie doll. I then went and bought the rest of the toys at Walmart and Amazon. If we weren’t quarantined right now I would have added some balloons, but it still turned out great.
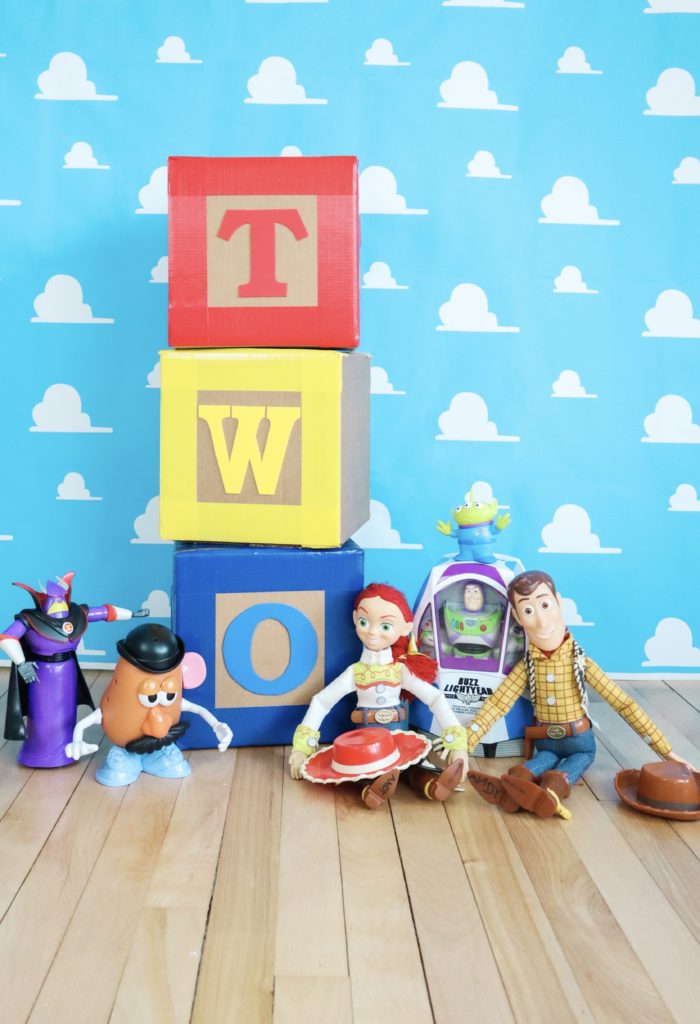
Links to Toys
- Buzz and Zurg (Walmart)
- Mr Potato Head (Amazon)
- Woody (Amazon)
- Buzz (Amazon)
The Woody and Buzz links I put above are from Amazon. Like I said my mom already had the Woody doll so I have not used the one from Amazon, but the reviews looked good. I wanted to put a link just in case you wanted to know where to buy them.
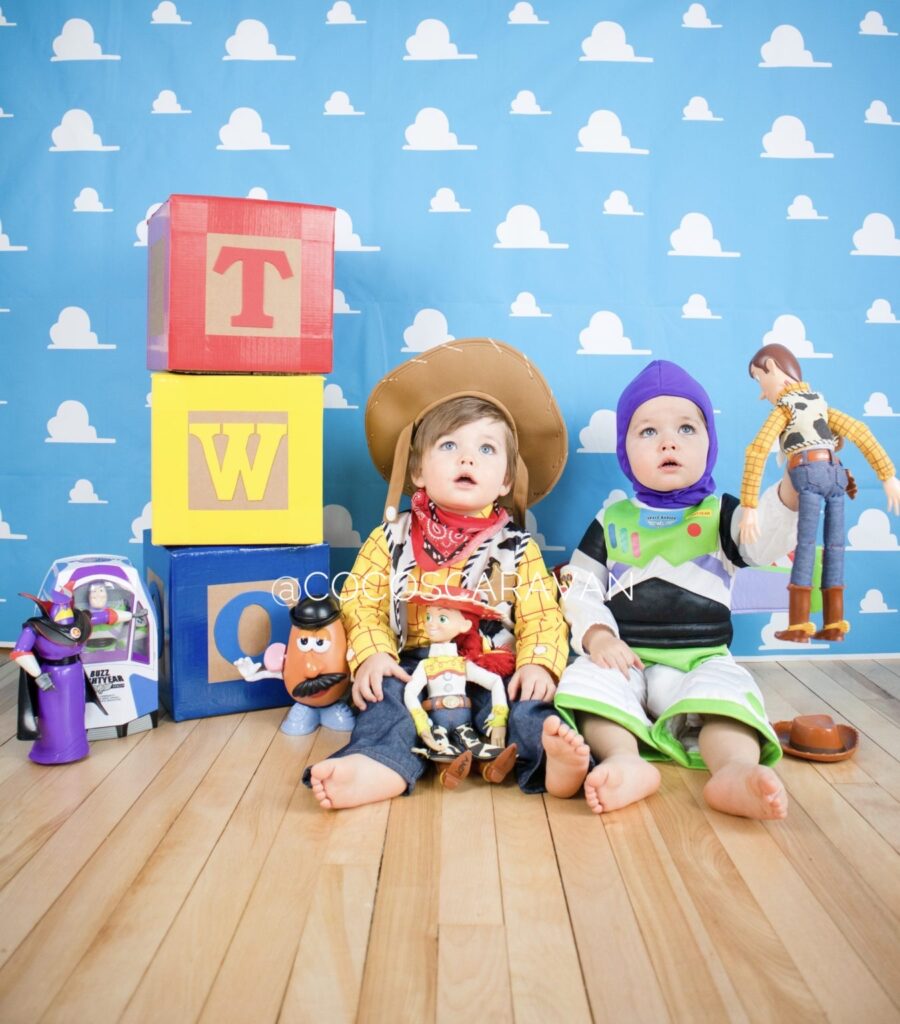
Costumes
Believe it or not I found these costumes on Poshmark. Someone who also had twins was selling them both for $50. So thats a great place to check before you pay full price for costumes.
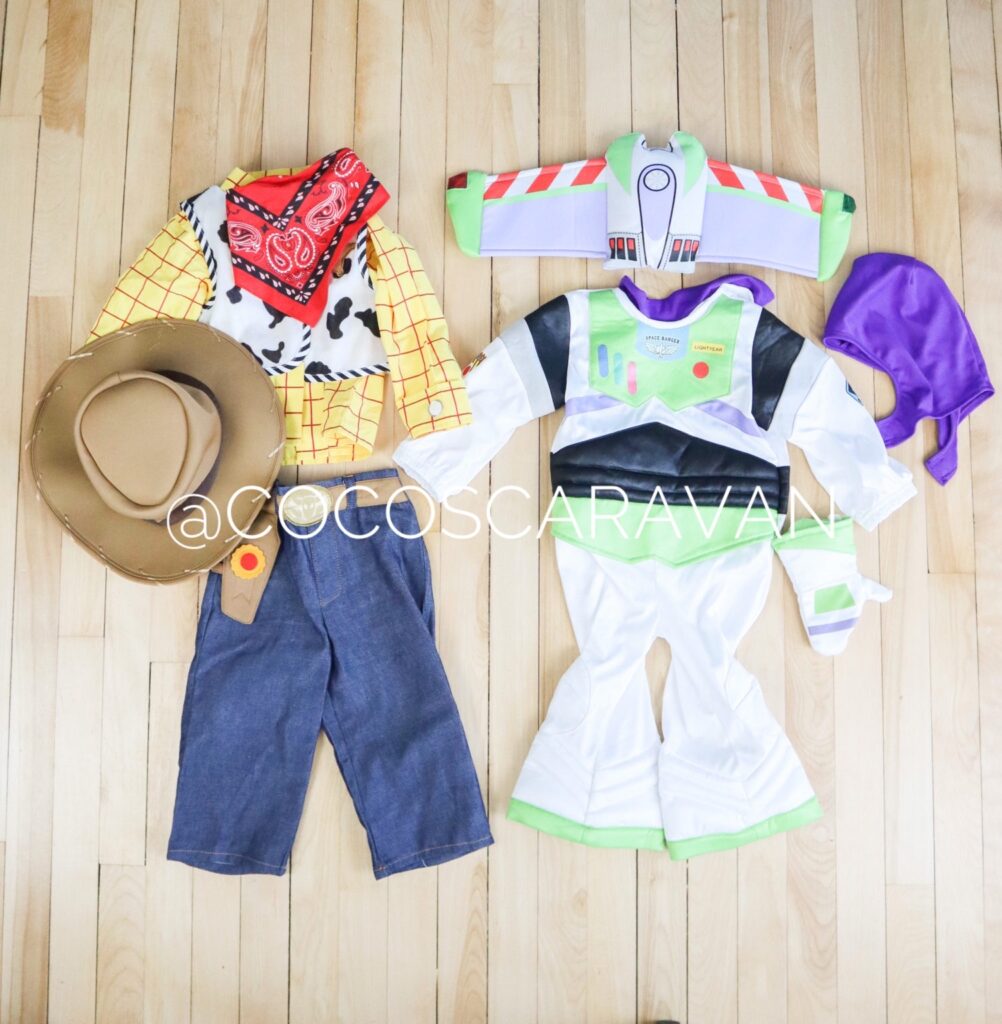
Links to Costumes
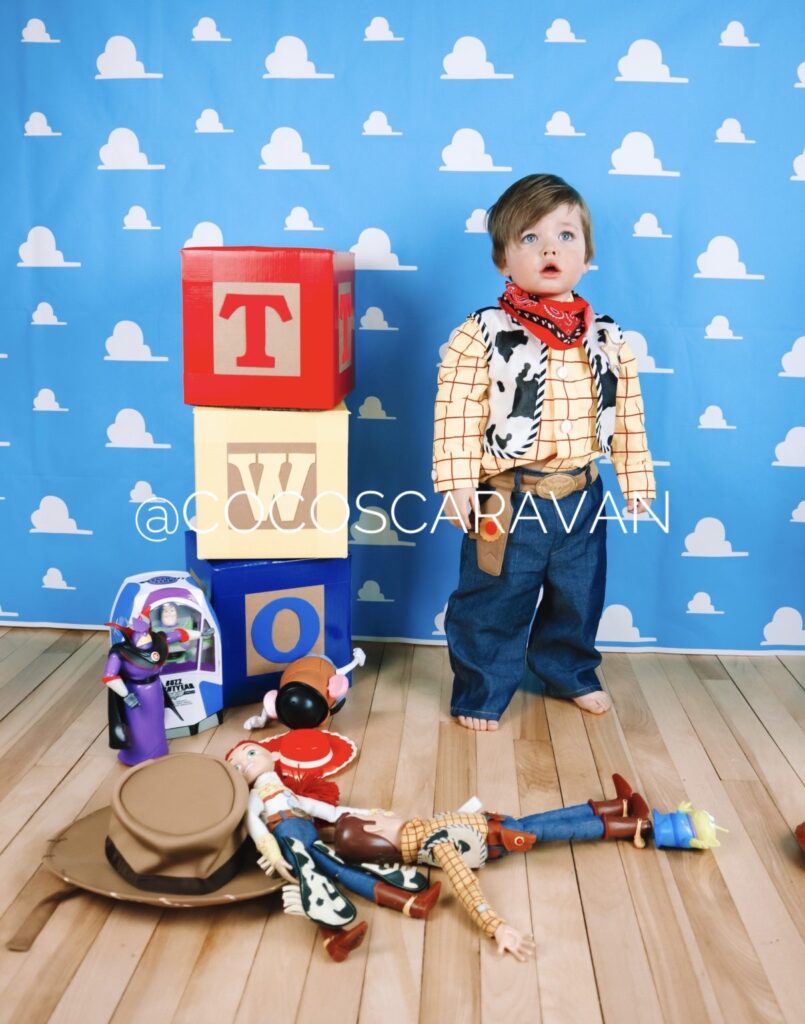
This woody costume has sizes up to 24 months. The size of this Woody costume that Everett is wearing is size 18-24 months. It worked perfectly for them to wear for the photoshoot. Just a reminder that I bought these costumes from Poshmark so I did not buy them from Amazon. I did find the same costume on Amazon if you are interested in buying it. I put the link below.
This Buzz costume has sizes up to 24 months. The size of this Buzz costume that Marshal is wearing is size 18-24 months. It worked perfectly for them to wear for the photoshoot. Just a reminder that I bought these costumes from Poshmark so I did not buy them from Amazon. I did find the same costume on Amazon if you are interested in buying it. I put the link below.
DIY Letter Block Boxes
These letter block boxes made the Toy Story Photoshoot that much better! They were super easy to do and I’ll show you how I put them together. I love how I spelled out two for their birthday and I really think it made the photo that much better!

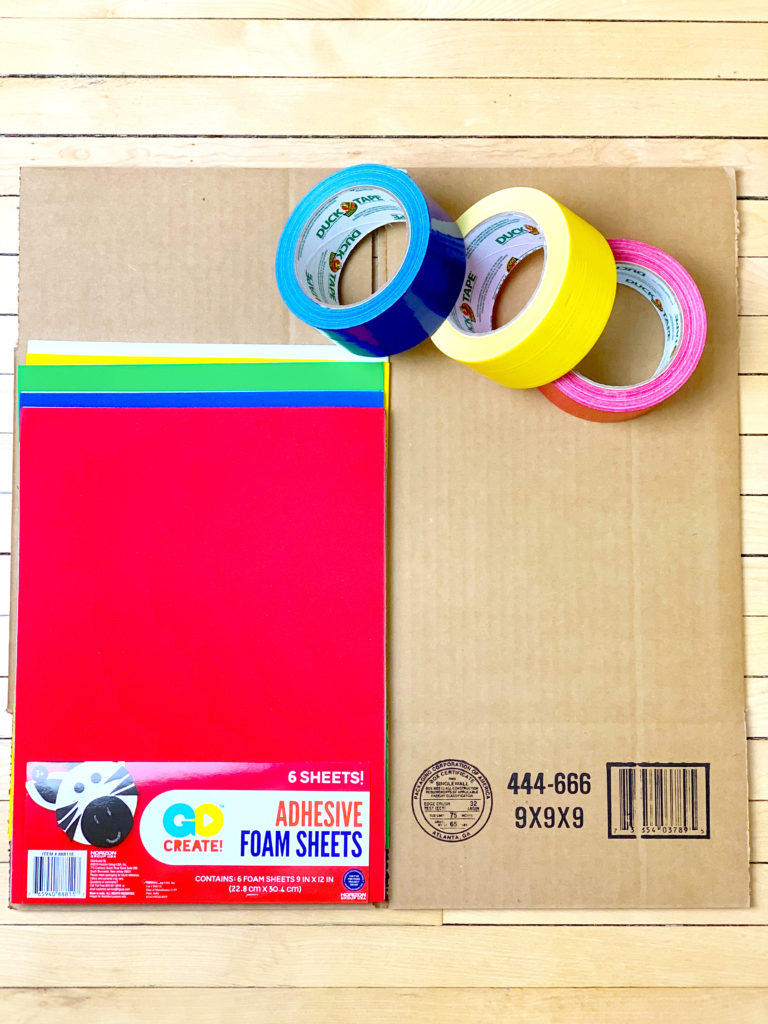
Toy Box Supplies
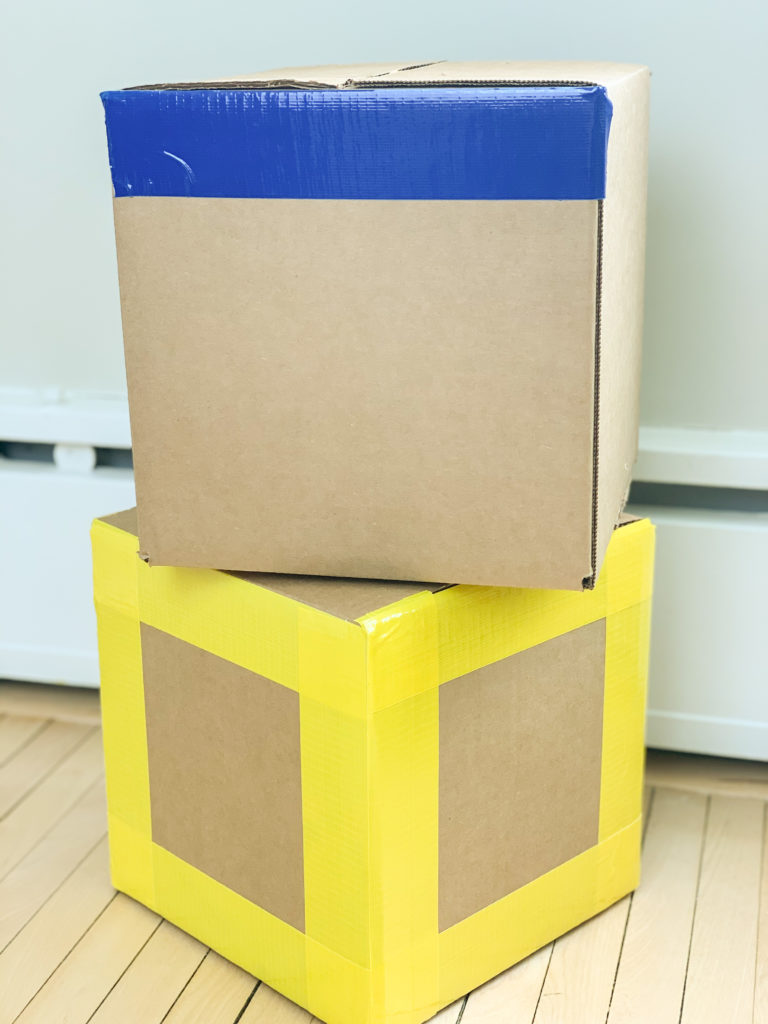
- Colored duck tape of your choice
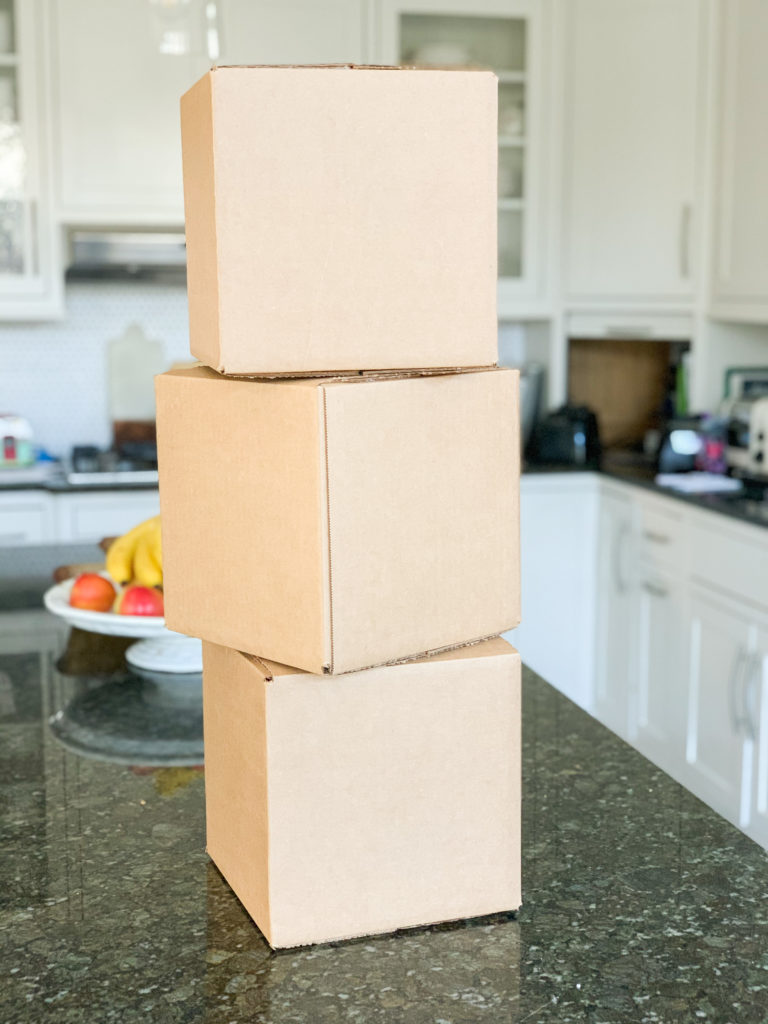
- 9 by 9 by 9 cardboard box
- Adhesive foam colored sheets
- Hot glue gun
- Printer (print out letters to trace)
Steps to Making Letter Blocks
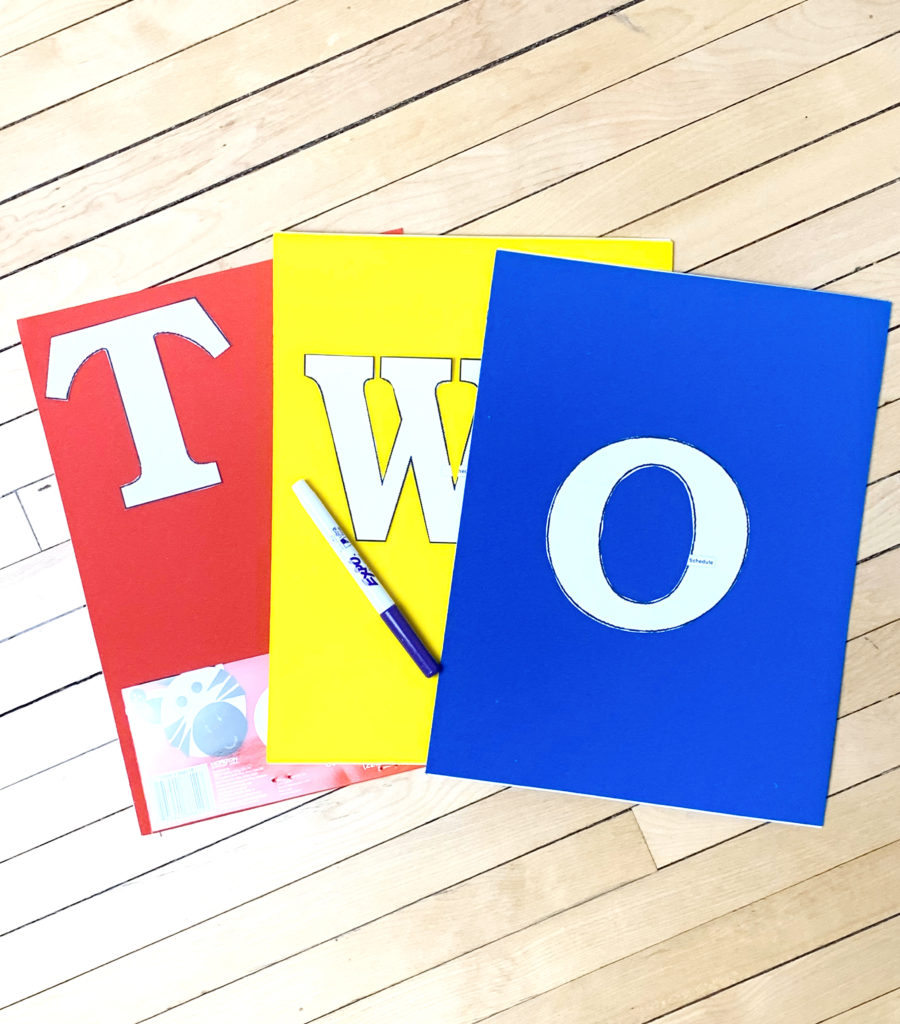
Step 1:
The first step is making the letters that you will put on each box. You can ether trace the letters yourself or print off some from the internet. You can google box letters and pick which style you like. If you like the ones I used print from THIS website. If you bought the 9X9X9 cardboard box these letters will be a perfect fit.
Step 2: Cut out the white letters and trace them onto the desired colored foam sheet.
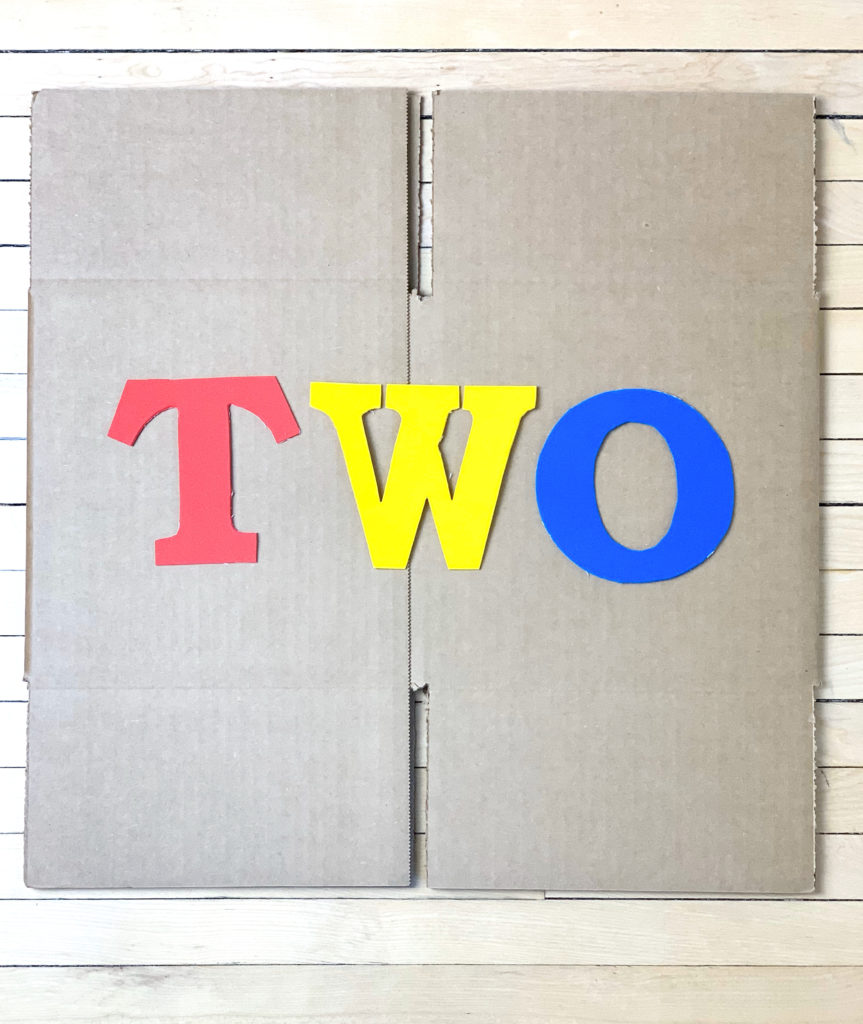
Step 3: Once you trace the letters cut them out of the foam sheet. I was able to fit 3 letters onto one sheet. I only did three of each color because in the photo you won’t be able to see the back side of the box.
Step 4: You don’t want to fold your boxes shut or it won’t look like a block. Take a glue gun to glue the box together.
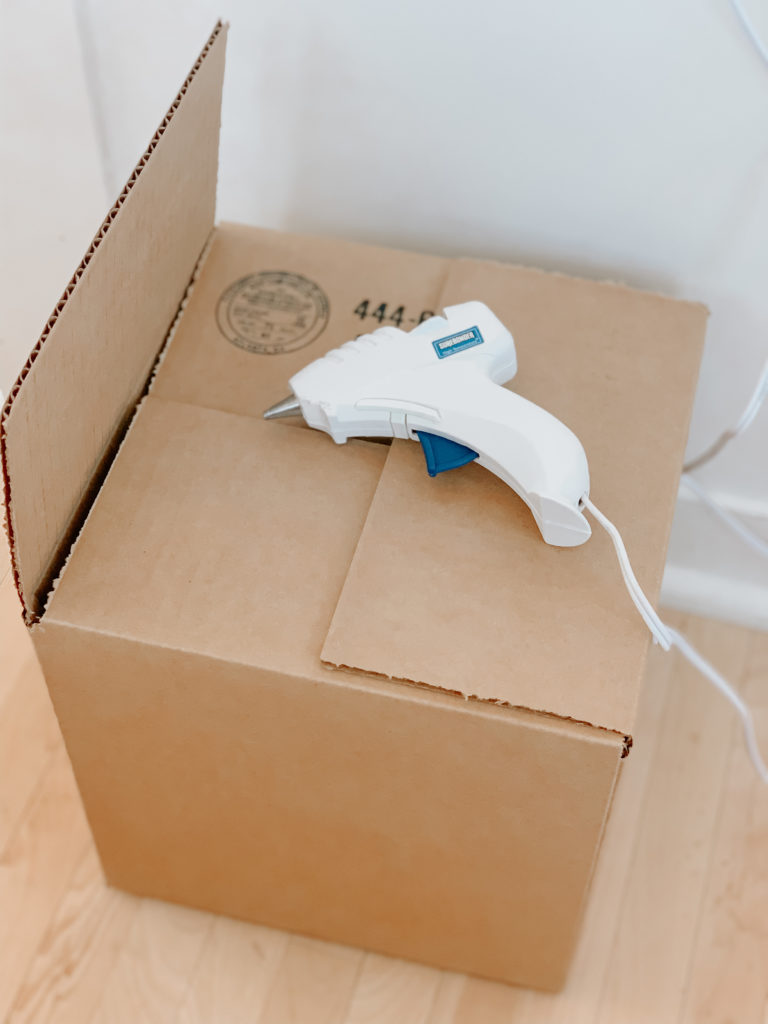
Try your best to make it as flat as possible when you are gluing. This way they will stack nicely and not tilt to one side.
Step 5: Once you have glued the boxes together you will want to start taping the edges of the box. Remember to use the same color for one box.
Step 6: The last step is to glue or stick the letters on the box. The foam sheets I bought had a sticky side which made it a lot easier to get them on the box. Try your best to center the letter in the middle of each square.
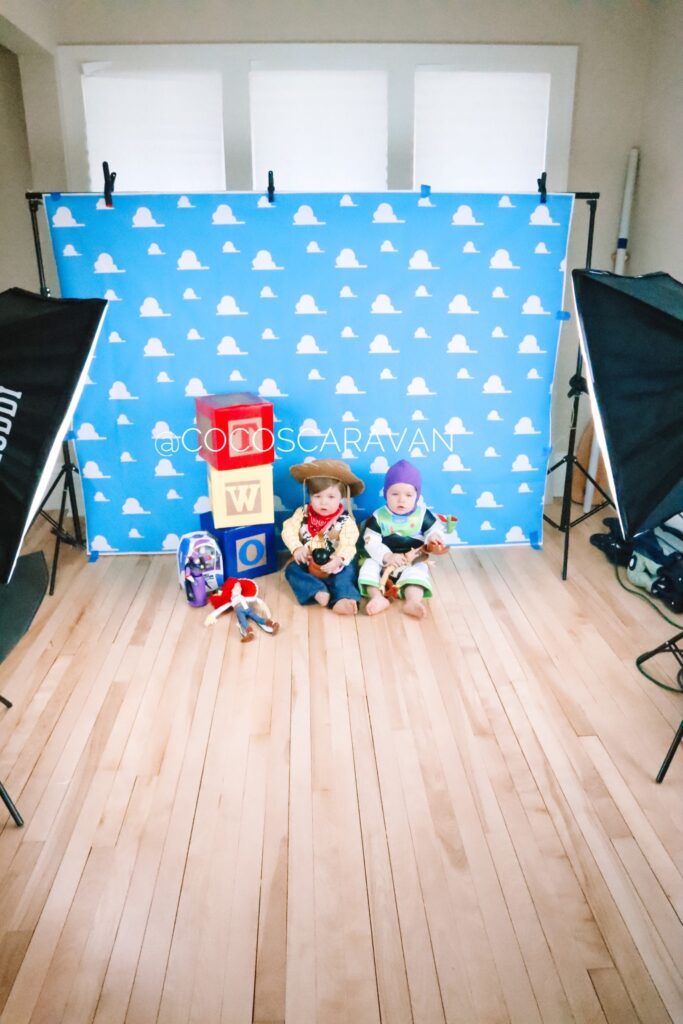
Backdrop
The cloud backdrop is the most important part of the Toy Story Photoshoot. I found this one on Amazon for $14 and I think it was totally worth it. After the photoshoot I was able to use this as a backdrop for their birthday party table. So It was great to be able to get two uses out of it!
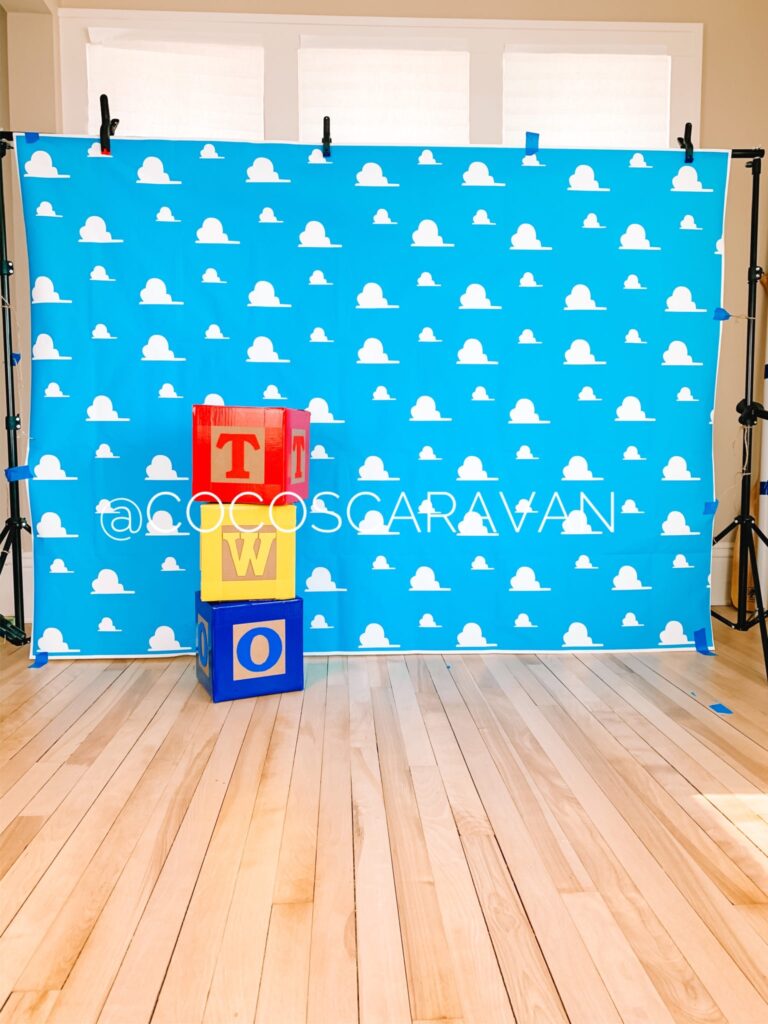
The backdrop came in the mail folded which left it with some creases. I tried my best to iron it and then roll it up. They told me to leave it rolled up for a couple days, but it still had some visible fold lines. Just know it won’t be 100% perfect. I tried to tape it to the sides to make it as tight as possible. This can also help with getting rid of those fold lines. I also used photoshop to smooth out the lines when I was edited the photo.
I hope this DIY Toy Story Photoshoot was helpful. If you want to know the camera equipment I use you can check out that blog post HERE. If you have any more questions about how I put this together please comment below!
Editing Photos
I put together a list of the best picture editing apps. I started learning to take my own photos to save money. With these picture editing apps you can take any ordinary photo and make it look professional. See my blog post here to see more of my tips and how I edit my photos so you can do the same with yours.
My Camera
This is the best camera for beginners. If you are new to photography or video and want to start off with an easy to use camera, this is the one for you. Continue reading to see what lens I added to this camera to get even better photos!
Photography Equipment For Beginners
I wanted to share the photography equipment I use that can help you take professional pictures at home! Why spend tons of money on a professional photographer when you can take them yourself. This is the best list to start out if you are a beginner.
LEARN HOW TO TAKE YOUR OWN PHOTOS AT HOME WITH MY ONLINE COURSE!
I go more into detail on how to take your own photos at home and get them to look professional. I have video footage of me showing you how I made my wooden backdrop. I’ll share with you all the photography equipment I use. I’ll teach you how to edit your photos to add presets and remove unwanted objects from a photo. Tips and tricks on how to get kids to look at the camera and what settings to put your camera on. Everything you need to get that professional photo, but at home! Check out my course HERE.
DON’T FORGET TO PIN THIS DIY PHOTOSHOOT TO YOUR FAVORITE PINTEREST BOARD FOR LATER.
This post may contain affiliate links. See my Full Disclosure for further details.