Learn how to make Lego Minifigure Display
Learn how to make this Lego minifigure display to store your Lego minifigures. See my steps below to see how you can make this yourself.
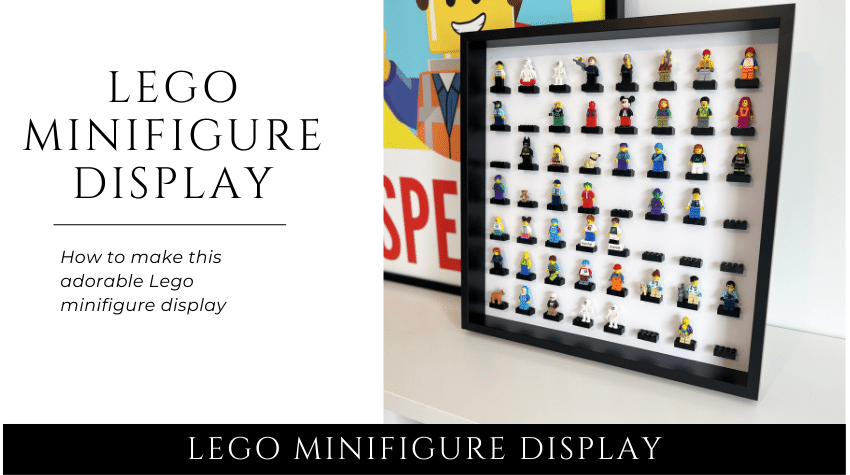
Table of Contents
Lego Minifigure Display
We recently organized our Legos and I wanted a fun and decorative way to display our minifigures. I saw this Lego minifigure display on Pinterest and thought I would try and make it myself. The measuring was the hardest part, but after that it was super easy and turned out so cute. Follow my steps to learn how to make this lego minifigure display yourself.
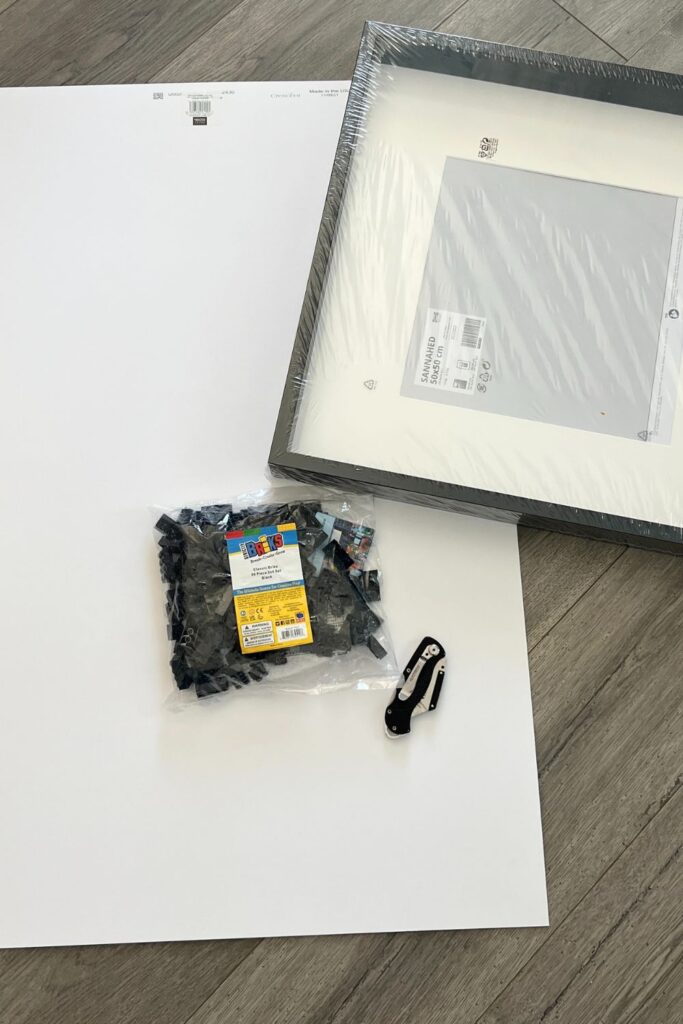
Materials Needed
- Ikea Sannahed Frame 50cm X 50 cm
- White mat board (I got mine from Michaels)
- Super Glue
- 56 black 2X4 Lego bricks
- Pencil
- Ruler
- Scissors or Utility Knife
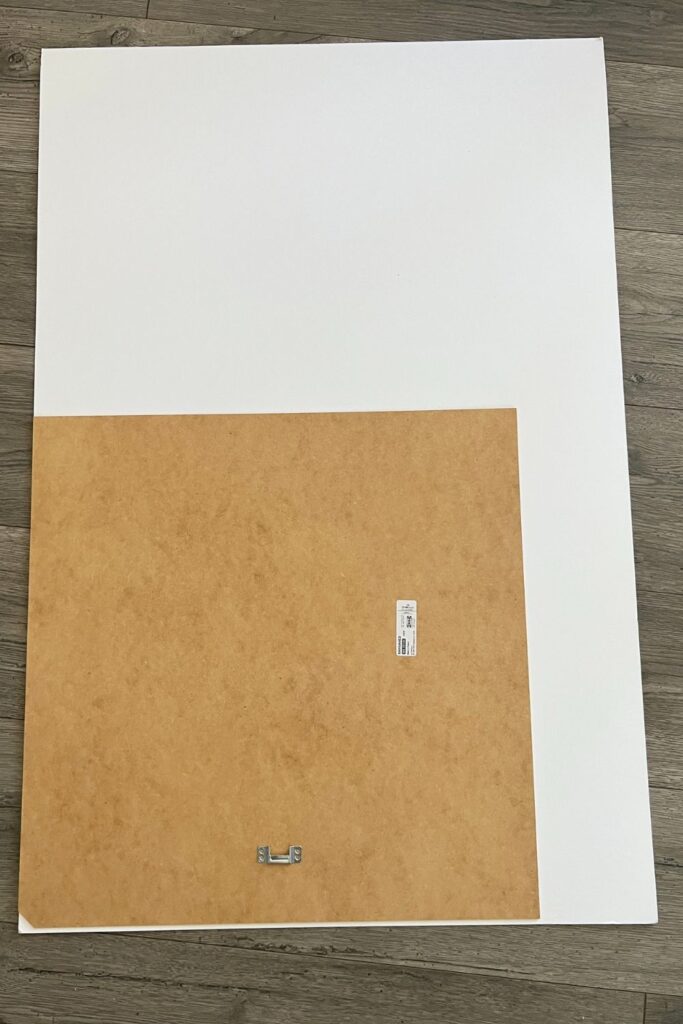
Step 1: Cut Mat Board
Take the back out from the Ikea frame and place it down on the white mat board. Trace the board with a pencil and then cut out the mat board. I put cardboard under the white mat and used a utility knife, but you can use scissors as well. Should be a perfect fit if you use the Ikea back frame.
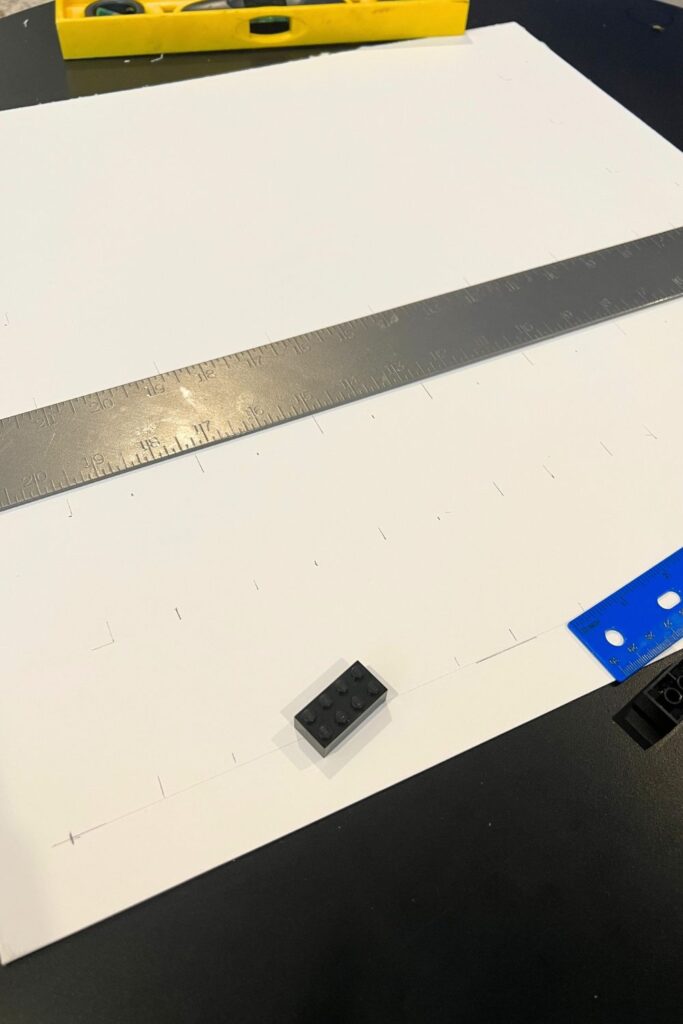
Step 2: Measuring the bricks
This will be the hardest part of the Lego minifigure display. Make sure to use a pencil so you can erase and try again if you mess something up. You will have 7 rows with 8 bricks in each row. You will want a one inch of space on all sides. See my diagram below to measure out your bricks. Use a minifigure on a brick to measure.

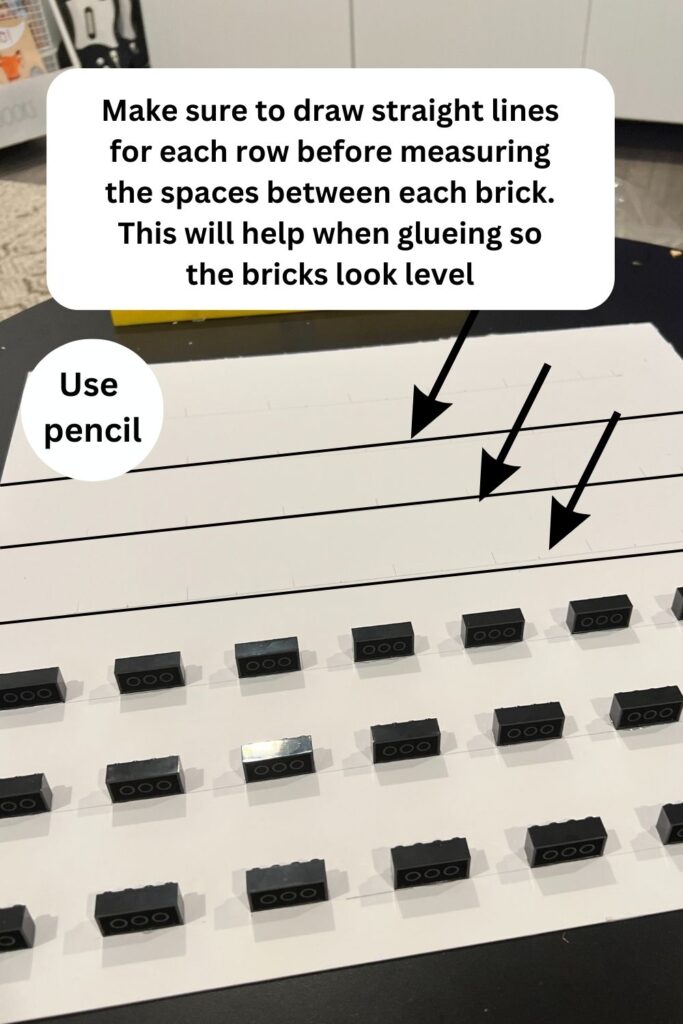

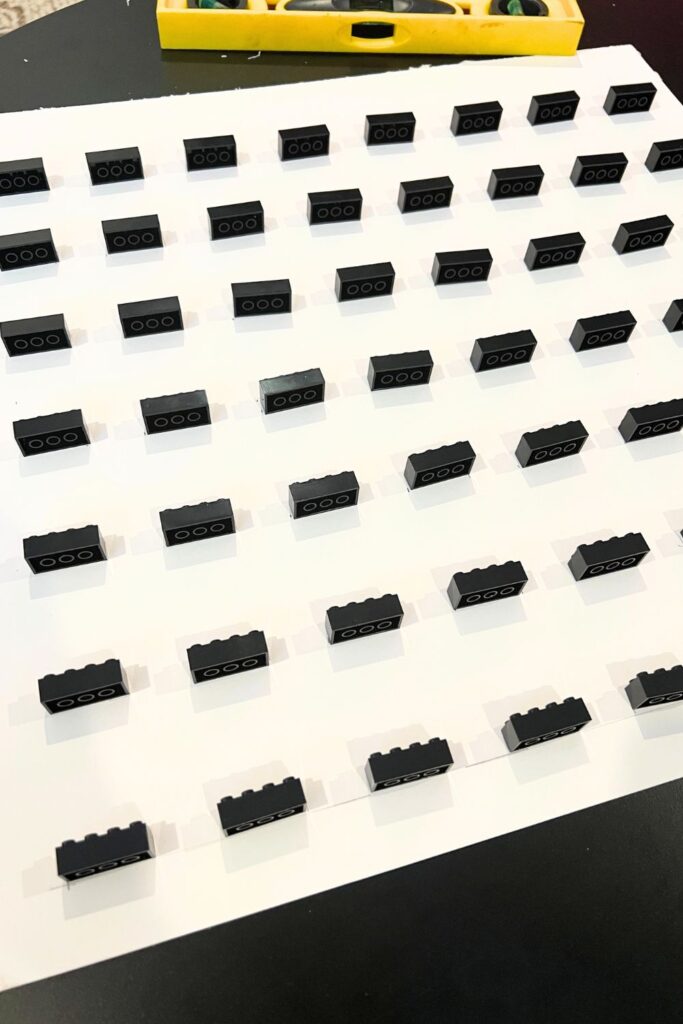
Step 3: Glueing
Before you glue make sure it looks ok by placing all the bricks down on your measurements. You will need to draw a straight line below all the bricks so you glue them level. If it looks good to you, start glueing! Don’t use too much glue, any extra that squishes out will leave a white residue on the bricks.
Step 4: Erase pencil markings
After your pieces are dry start erasing pencil markings on the board.
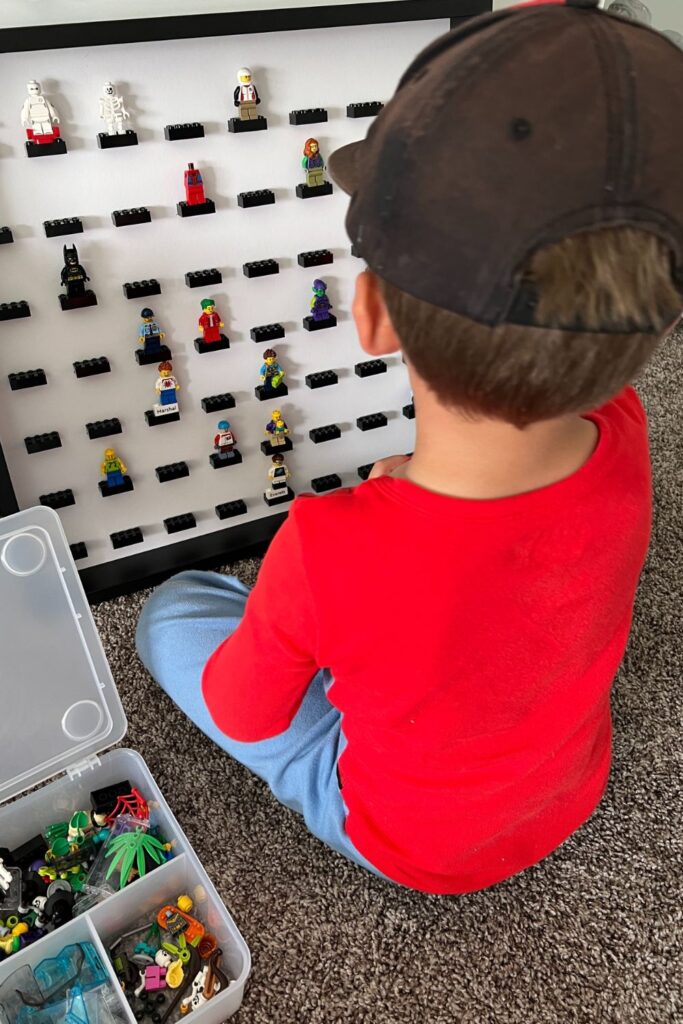
Step 5: Load your display with minifigures
This is the best part! Start finding all your favorite minifigure and get them on your brand new lego minifigure display!
How I organize my Legos
Click below to see how I organize my kids legos!