
How to start a free library: 7 Easy Steps
Learn how to start a free library: choose a premade kit, pick a theme, find the right location, and install it for neighbors to share books, puzzles, and more.
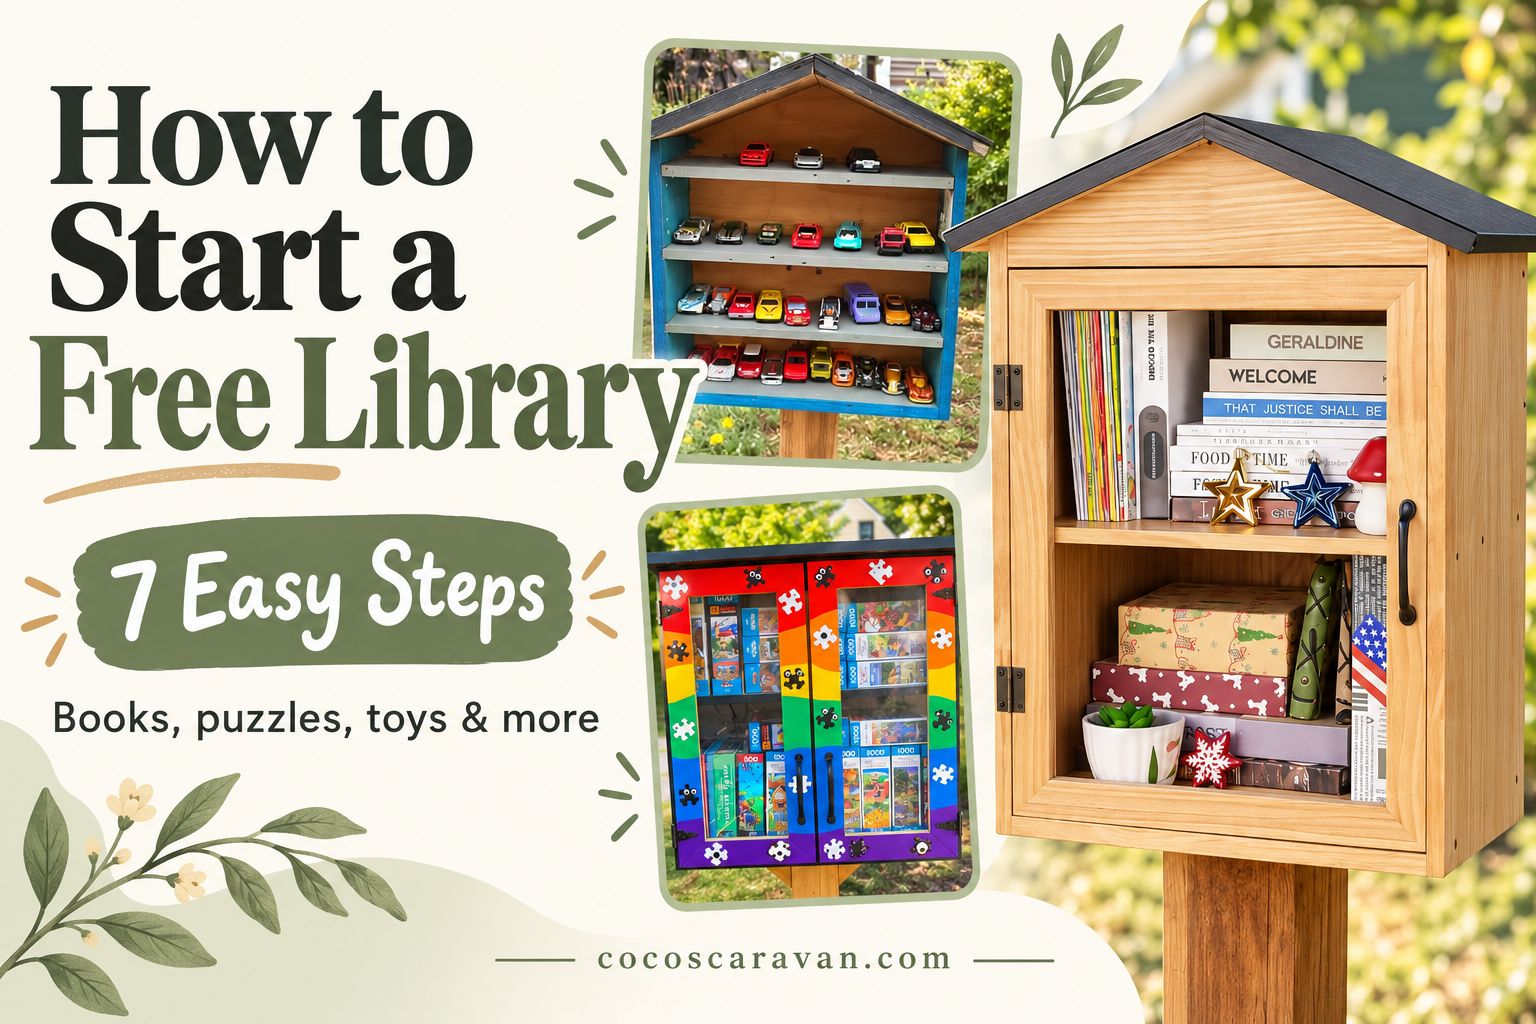
Table of Contents
How to Start a Free Library: From Choosing a Kit to Installation
Wondering how to start a free library in your neighborhood? From choosing a premade kit and picking a theme to finding the right location and installing it, I’ll walk you through each step. I chose a puzzle library, but yours could hold books, toy cars, little treasures, or whatever you’d love to share with your community!
What Is a Free Library?
A free neighborhood library is a small sharing space where people can take something they’ll enjoy and leave something for someone else. There’s no checkout desk or membership required.
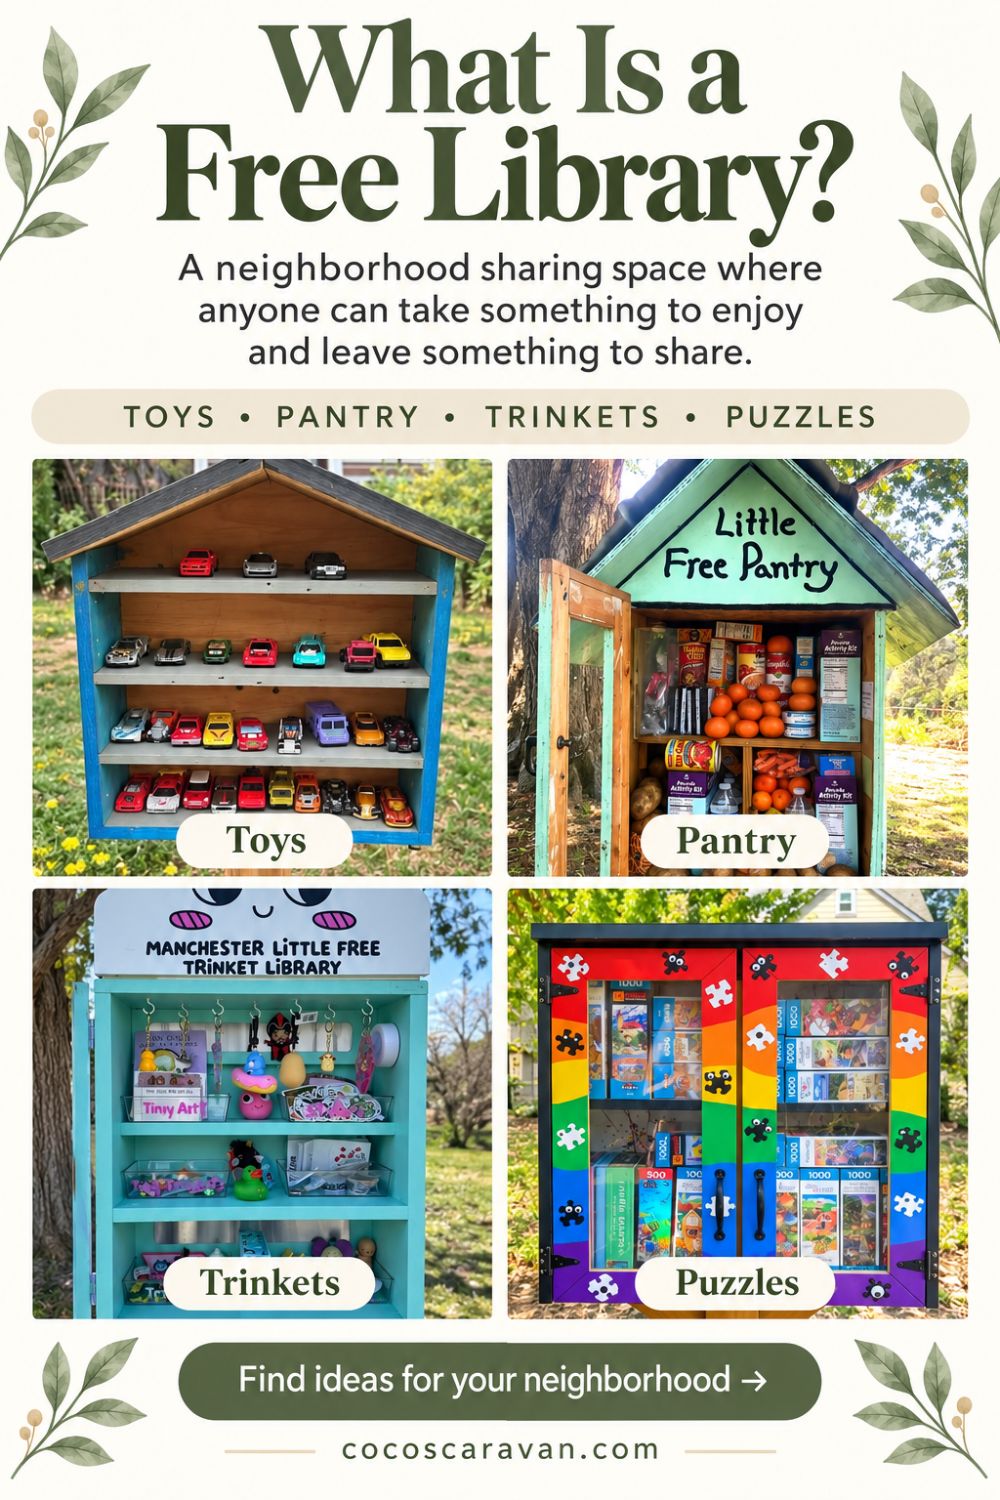
You can choose one theme or offer a mix of items. A simple sign helps visitors understand what belongs inside and how to participate. I like the idea of making it clear that people are welcome to take something even if they don’t have anything to leave that day.
1. Choose What Your Free Library Will Be About
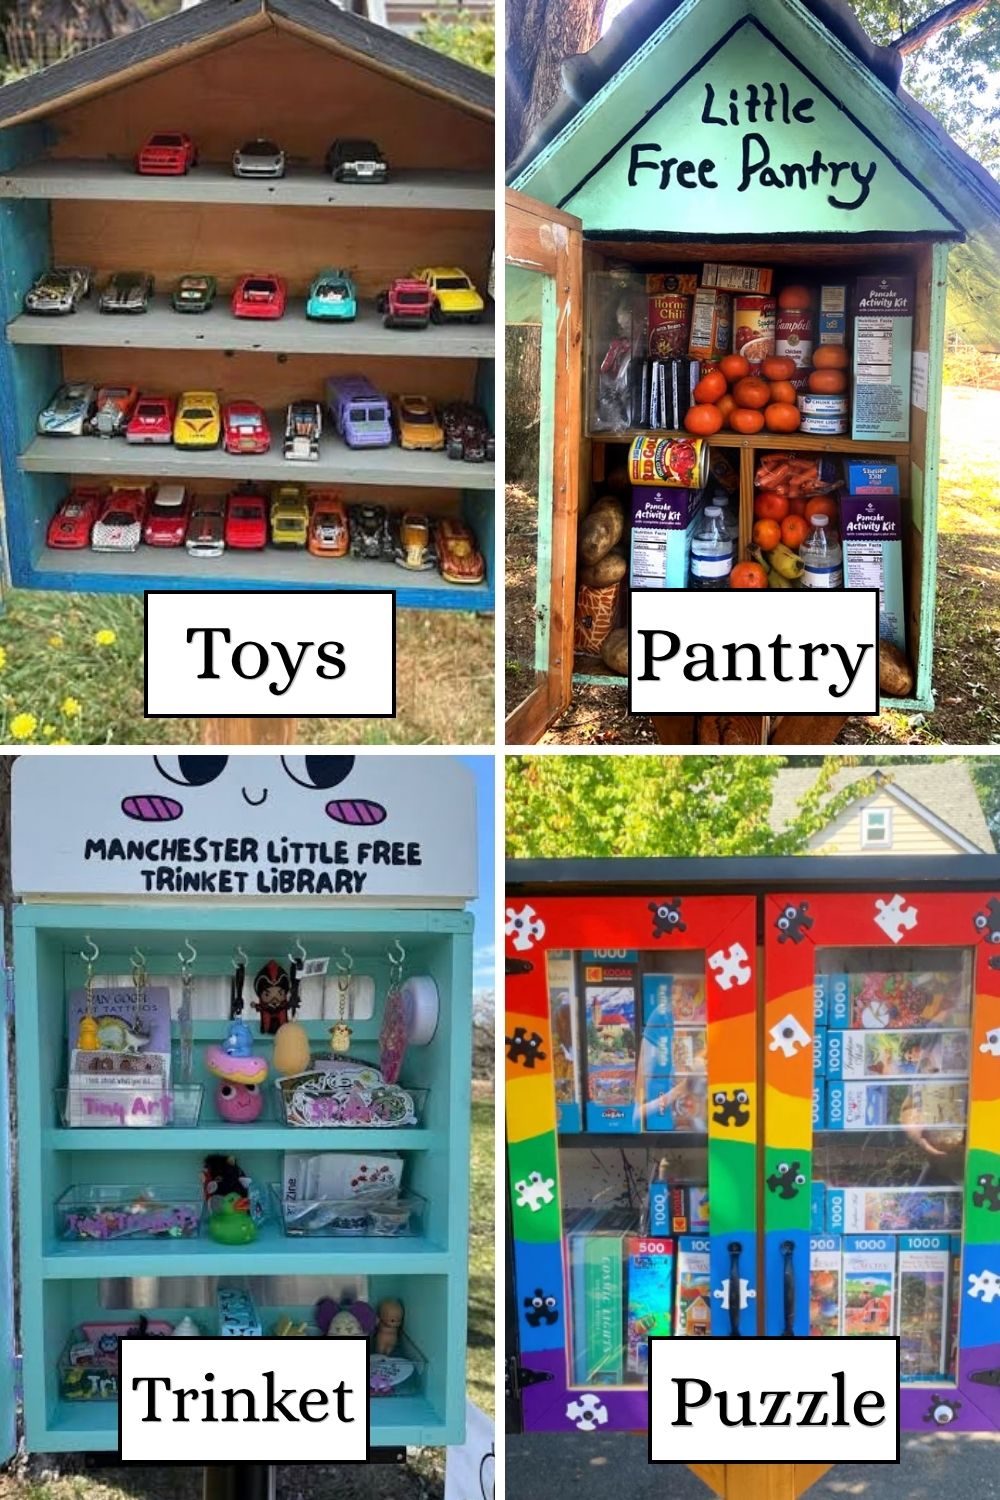
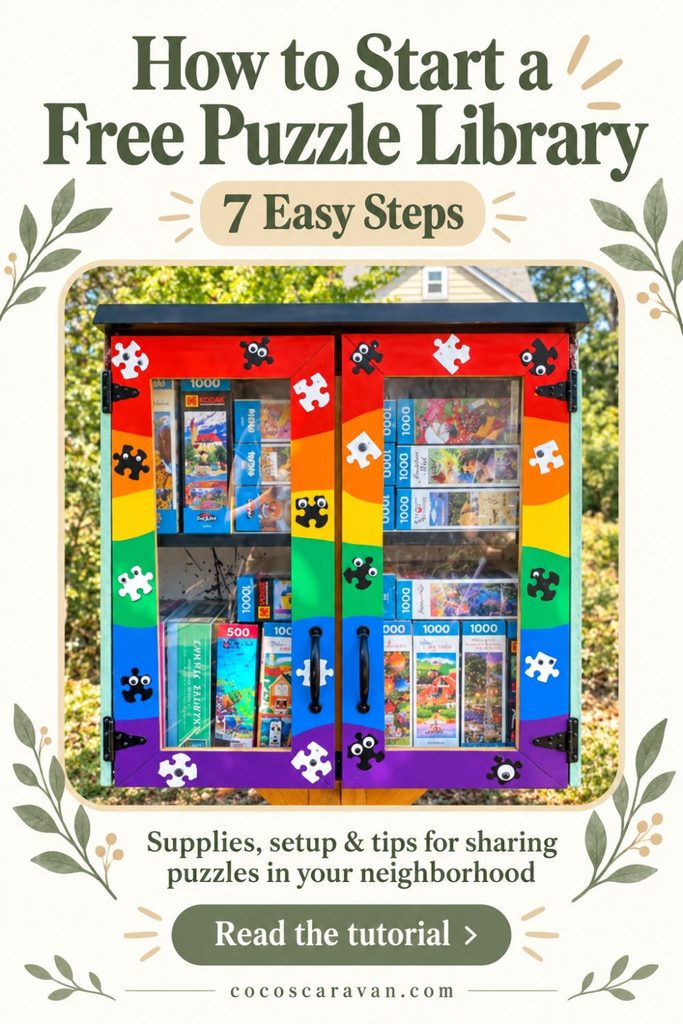
The first thing to do in how to start a free library is decide what you want it to be about. Your free library can be about something you love or something your neighborhood needs! Books are a popular choice, but you can also create a space for sharing puzzles, little treasures, or everyday essentials. I decided to make a puzzle library, and you can find my supplies and setup tips in my guide to starting a free puzzle library. Here are a few ideas to inspire yours:
- Puzzles: Share completed puzzles and find a new one to enjoy.
- Books: Offer children’s books, novels, cookbooks, or a mix for all ages.
- Food pantry: Share unopened, shelf-stable food with clear donation guidelines and regular checks.
- Trinkets: Fill your shelves with painted rocks, miniature figures, and little treasures.
- Toy cars: Create a little garage where kids can take and leave cars.
- Craft supplies: Swap yarn, fabric, stickers, and unused supplies.
- Seeds: Share labeled seed packets for neighbors to grow.
- Games: Exchange card games and small board games with all their pieces.
2. Find a Location and Get Permission
The second thing for how to start a free library is find a location. Choose a spot where neighbors can easily see and visit your free library and where you can regularly check on it. I originally wanted to put my puzzle library in our neighborhood’s common area, but our HOA didn’t allow it. Thankfully, a friend offered to host it in her front yard! Before installing yours, get permission from the property owner and check any HOA or local requirements.
- Make it easy to find: Choose a visible spot near a walking route.
- Keep access clear: Avoid blocking sidewalks, driveways, or wheelchair access.
- Get permission: Ask the property owner before placing it on someone else’s land.
- Check neighborhood rules: Contact your HOA or property manager about shared spaces, and check local placement requirements.
- Plan for upkeep: Pick somewhere you can easily visit to tidy, restock, and check for weather damage.
3. Choose Your Library Box
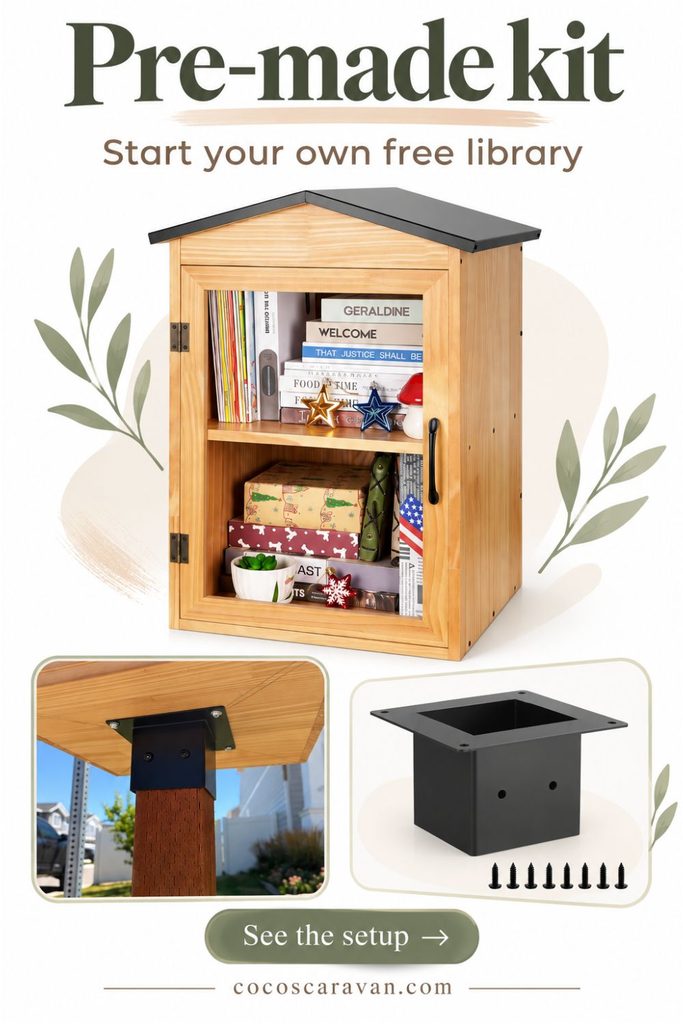
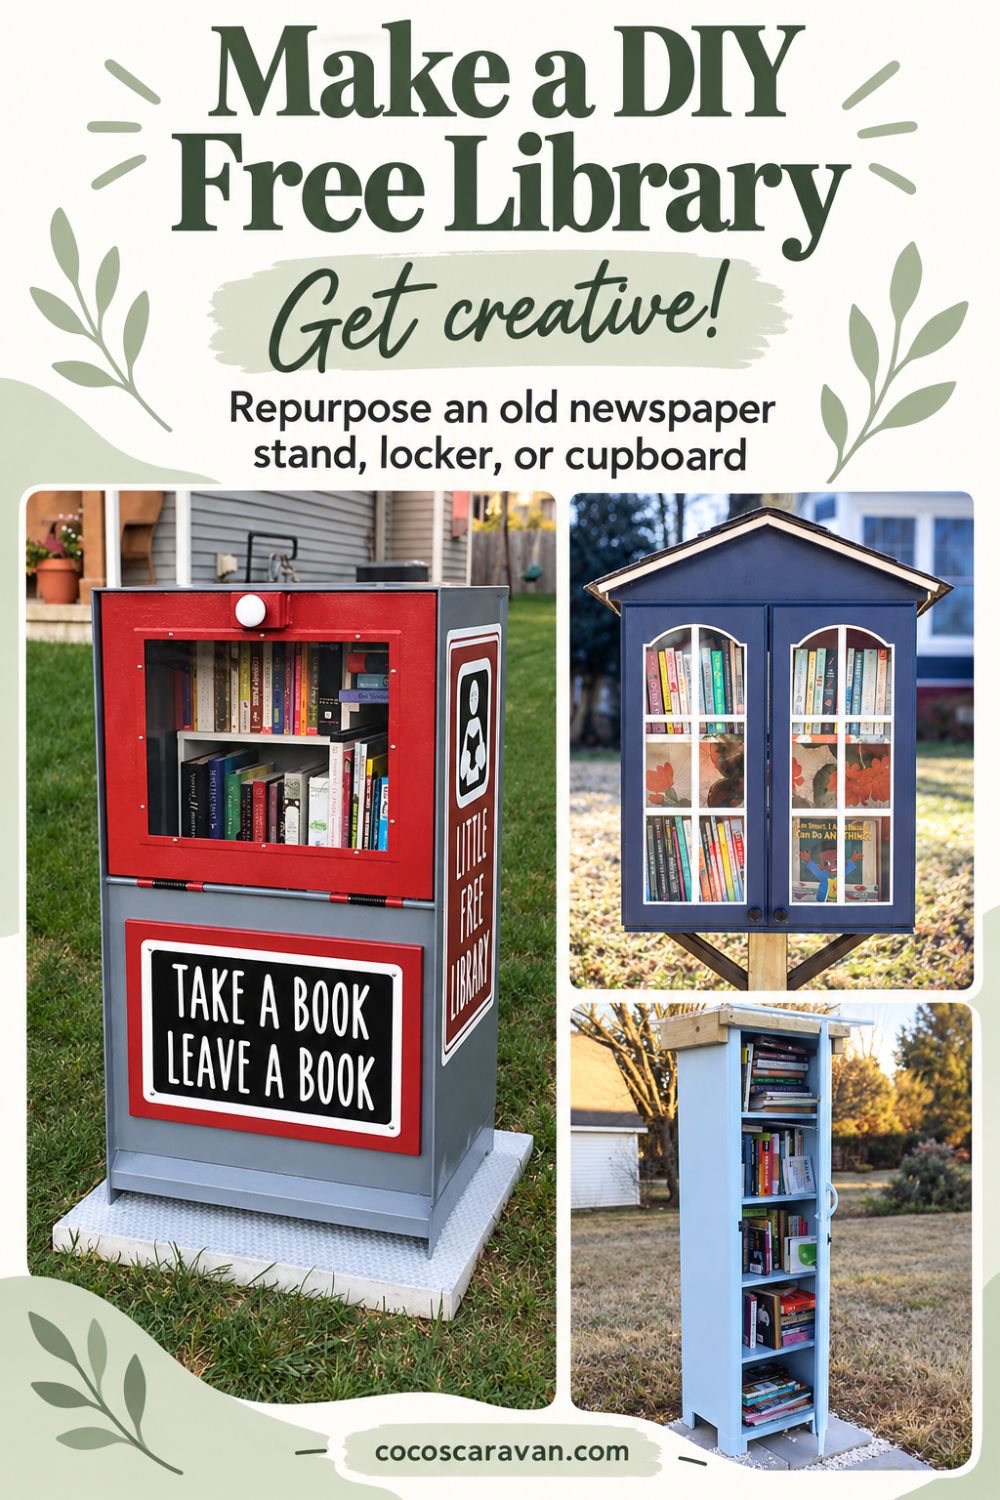
You can build your own library box or buy a premade kit, which is what I recommend for an easier start! A kit takes some of the planning and building work out of the process so you can focus on decorating and filling your library. Choose a box with enough room for whatever you plan to share especially if you’re storing larger items like puzzles and make sure it’s suitable for outdoor use.
4. Decorate and Protect It From the Weather
Now for the fun part on how to start a free library, making your library your own! Paint it a favorite color and add a sign to the front so neighbors know what’s inside and how to participate. I designed my own puzzle library sign and used my Silhouette machine to cut it out of vinyl. If you’re making a puzzle library and want to skip designing your own, you can purchase my puzzle library sign design to use on yours!
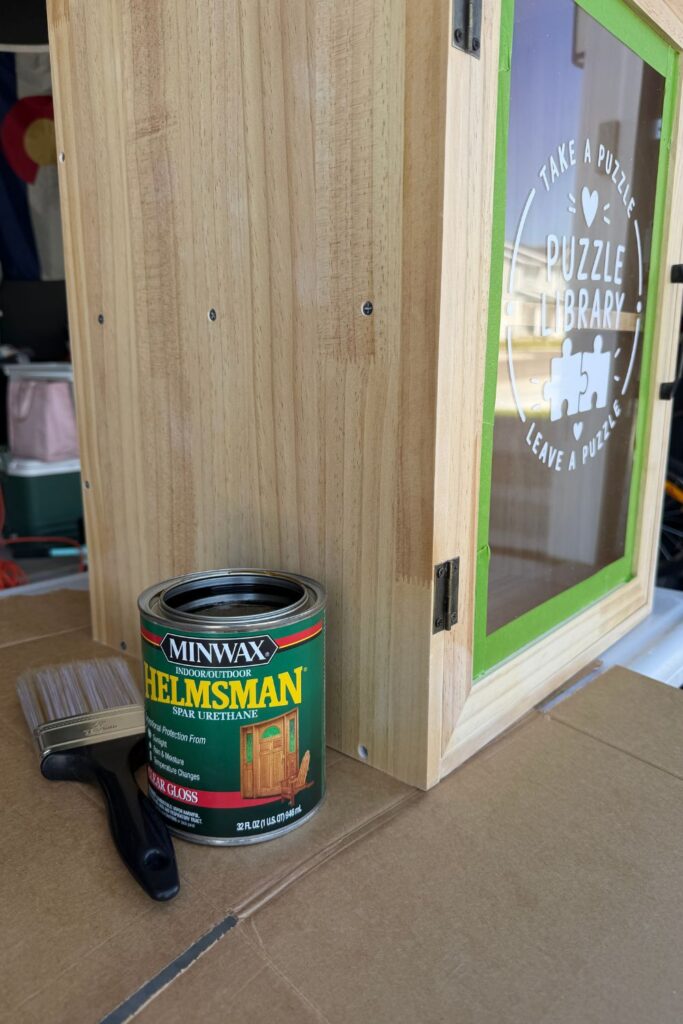
Before putting your library outside, protect it from rain, snow, and sun to help keep everything inside dry. Choose products suited to your box’s material and follow the application and drying instructions.
- Exterior primer and paint: For a colorful finish on outdoor wood.
- Exterior spar urethane: To protect bare wood while keeping its natural appearance.
- Paintable exterior caulk: To seal fixed seams where water could enter.
- Outdoor weather stripping: To help seal gaps around the door.
- Rust-resistant hardware: Exterior-rated hinges, screws, and a latch to keep the door securely closed.
5. Install It Securely
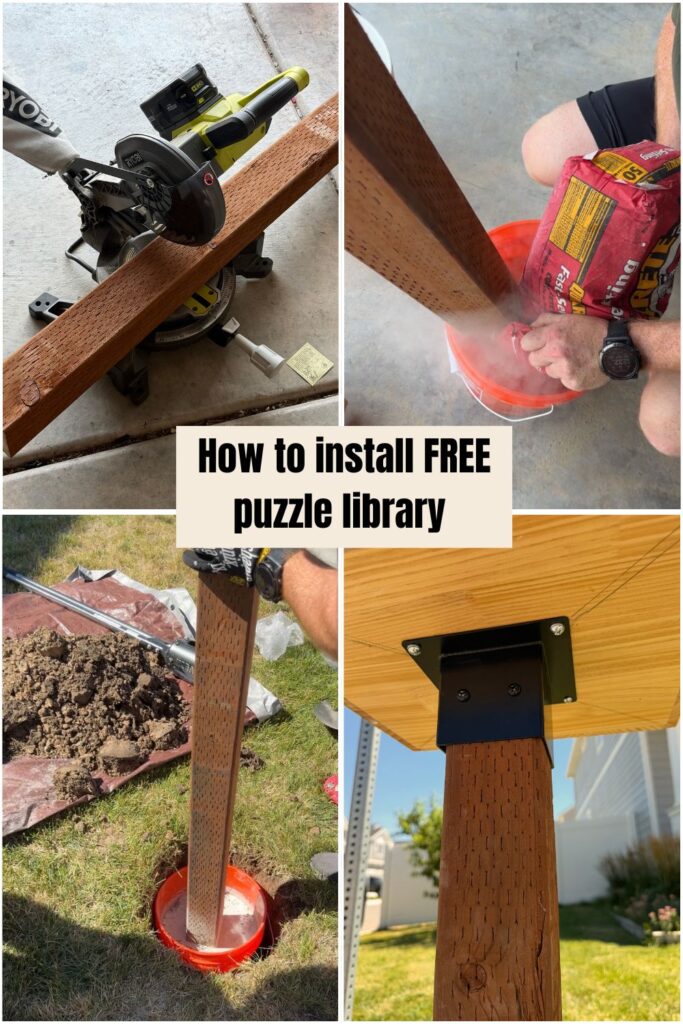
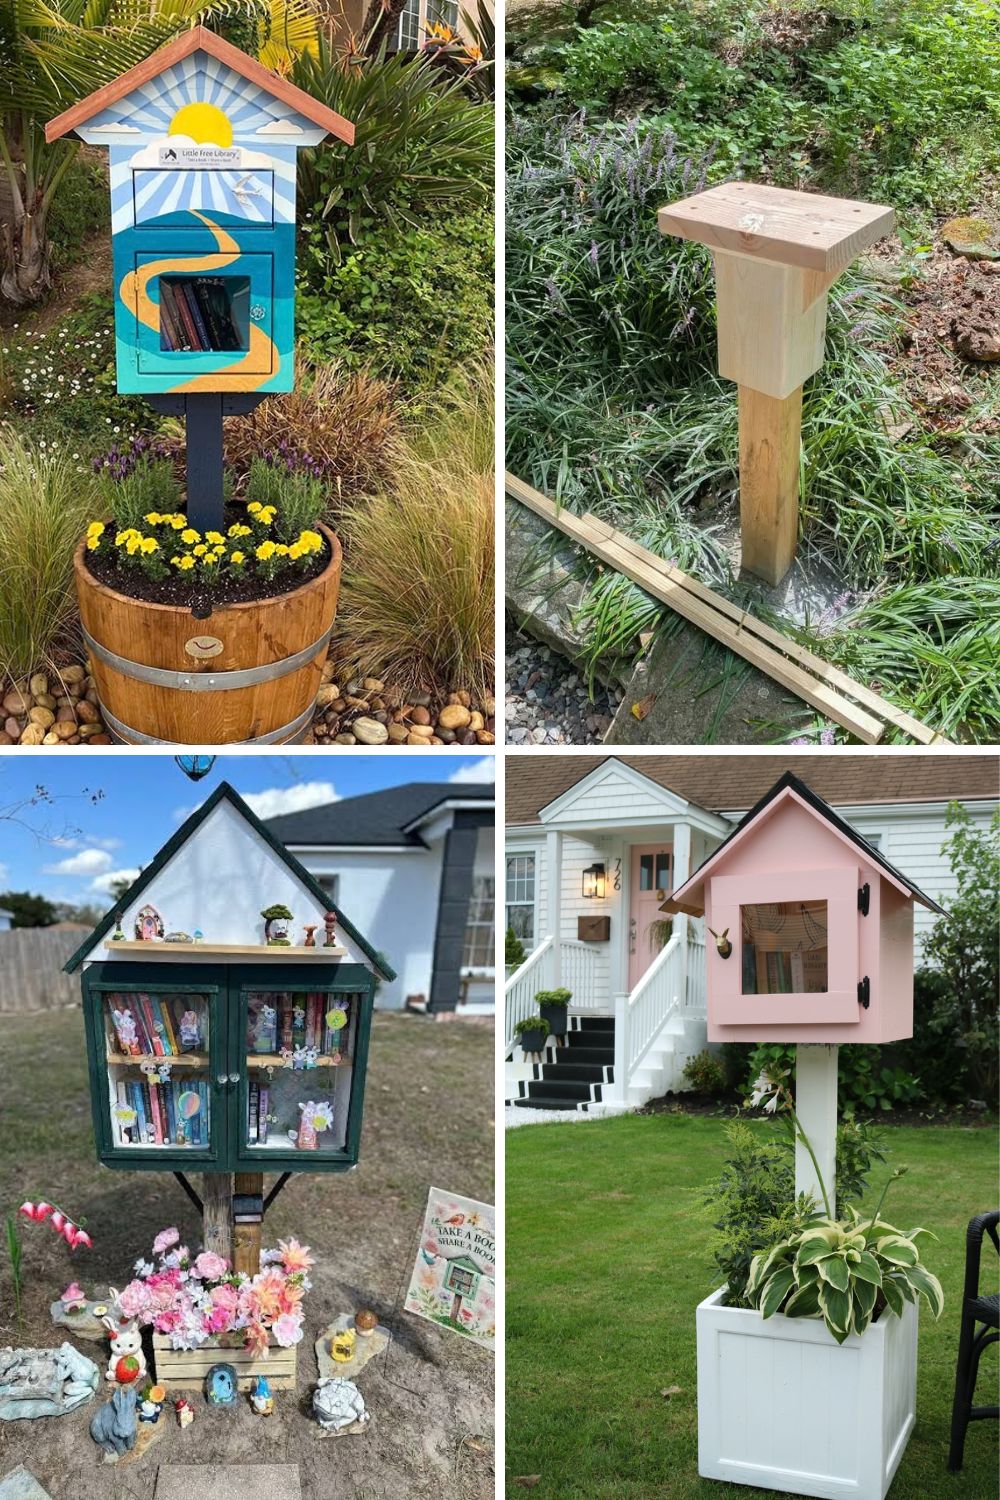
Once your library is decorated and ready, install it on a sturdy post or base so it won’t wobble or tip over. Follow the mounting instructions that come with your kit, and use hardware suitable for outdoor use. Choose a height that makes it easy for neighbors including kids to reach inside, and check that the door opens freely. If your installation requires digging, have underground utilities marked before you begin. You can see how I installed mine in my puzzle library tutorial.
6. Fill Your Library and Spread the Word
You don’t need a huge collection to get started! Begin with a few items you already have, then invite friends and neighbors to contribute.
Share a photo in your neighborhood group and explain:
- Where the library is located.
- What people can take or donate.
- What condition donations should be in.
- That everything inside is free.
A simple invitation can help people feel comfortable using it.
Step 7: Honor a Loved One With Your Free Library
After losing my husband, I know how meaningful it can be to create something that keeps a loved one’s memory alive. That’s why I wanted to include this idea a little library can be a beautiful way to share something they loved with others. If you’re navigating loss, you can find more resources and encouragement on my grief support page.
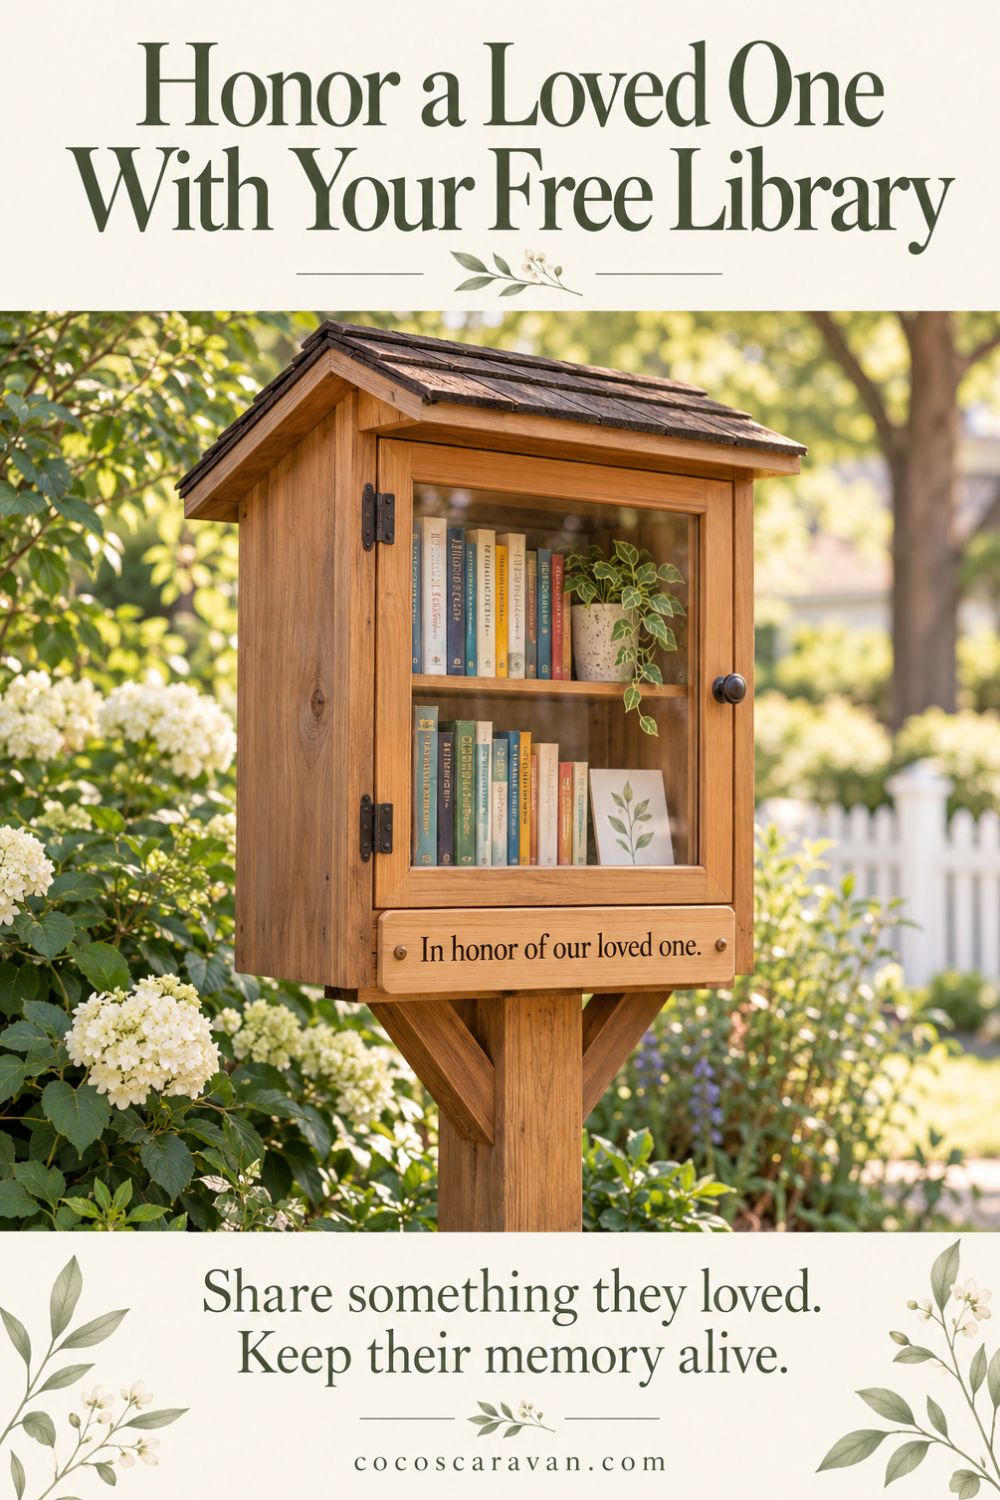
Grief can leave us wishing there were something we could do, and creating a little library gives us a meaningful way to honor that person and keep sharing a part of who they were. You can make it as personal as you’d like, with a few thoughtful touches:
- Choose something they loved: Share books, puzzles, toy cars, or supplies connected to their favorite hobby.
- Add a dedication: Include their name and a few words about why you created the library.
- Decorate with memories: Use their favorite color or a design that reminds you of them.
- Share their favorites: Include a little note explaining why a particular book or item was special to them.
- Invite others to contribute: Ask family and friends to donate something in their memory.
- Mark a meaningful day: Open or restock the library on their birthday as a way to remember them together.
It doesn’t have to be elaborate. A small place where neighbors can find something useful or joyful can hold so much love.