
How to Start a Free Puzzle Library in Your Neighborhood
Learn how to start a free puzzle library in your neighborhood with this step-by-step guide, including supplies, installation tips, and design ideas.
Table of Contents
What Is a Free Puzzle Library?
A free puzzle library is a simple way to bring your community together by sharing puzzles with neighbors. The idea is easy: take a puzzle, leave a puzzle, and help keep the library stocked for others to enjoy. While puzzles are the focus of ours, you can customize your library to fit your neighborhood. Some people create little libraries filled with books, while others share toys, games, craft supplies, or seasonal activities. No matter what you choose, it’s a fun and affordable way to encourage sharing, reduce waste, and give families something new to enjoy.
Why I Started a Free Puzzle Library
Supplies You’ll Need
I first discovered free libraries when I lived in Minneapolis, and I immediately loved the idea. They were everywhere, and we’d always stop to look inside while out on walks. Since our neighborhood now already has a free book library, I wanted to create something a little different. I love doing puzzles, and they’re one of those things you usually complete once or twice before passing along. A free puzzle library felt like the perfect way to give them a second life and share them with the community.
How to Build a Free Puzzle Library
Starting a free puzzle library is easier than you might think! I spent hours researching the materials, planning the installation, and figuring out how to make the process as simple as possible so you don’t have to. Follow the steps below, and you’ll have everything you need to create your own free puzzle library and bring a little extra fun to your neighborhood.

Step 1: Choose Your Library
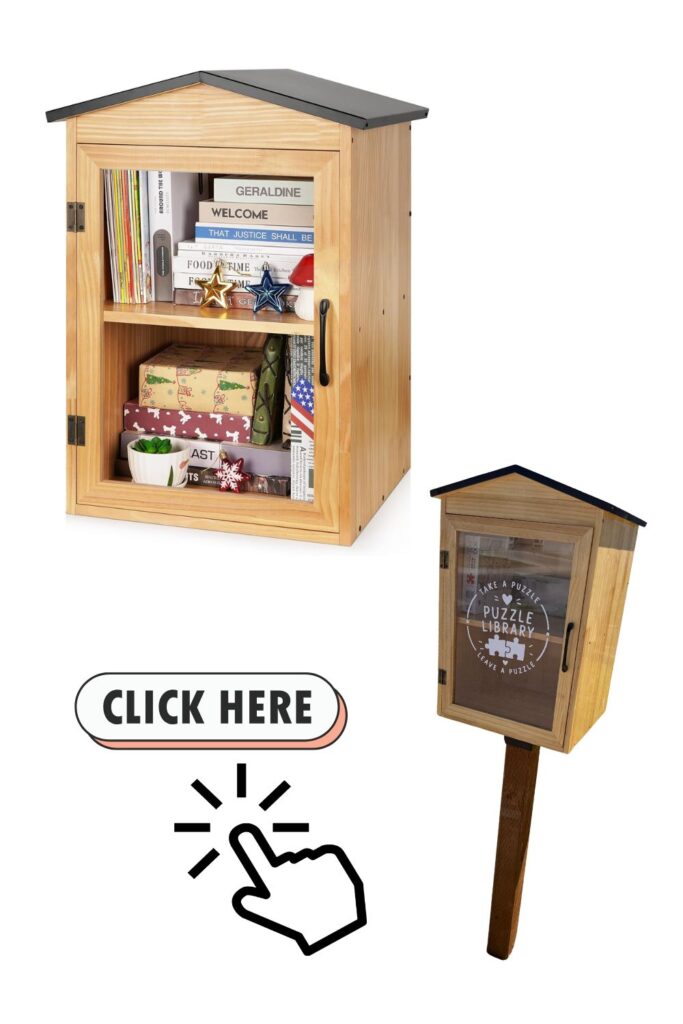
The first step is deciding what type of puzzle library you want. If you enjoy DIY projects, there are plenty of great tutorials online that show you how to build one from scratch. If you’d rather save time, you can purchase a pre-made library kit from Amazon or directly from the Little Free Library website. That’s the route I chose, and it made the project much quicker and easier.

Step 2: Design and Weatherproof It
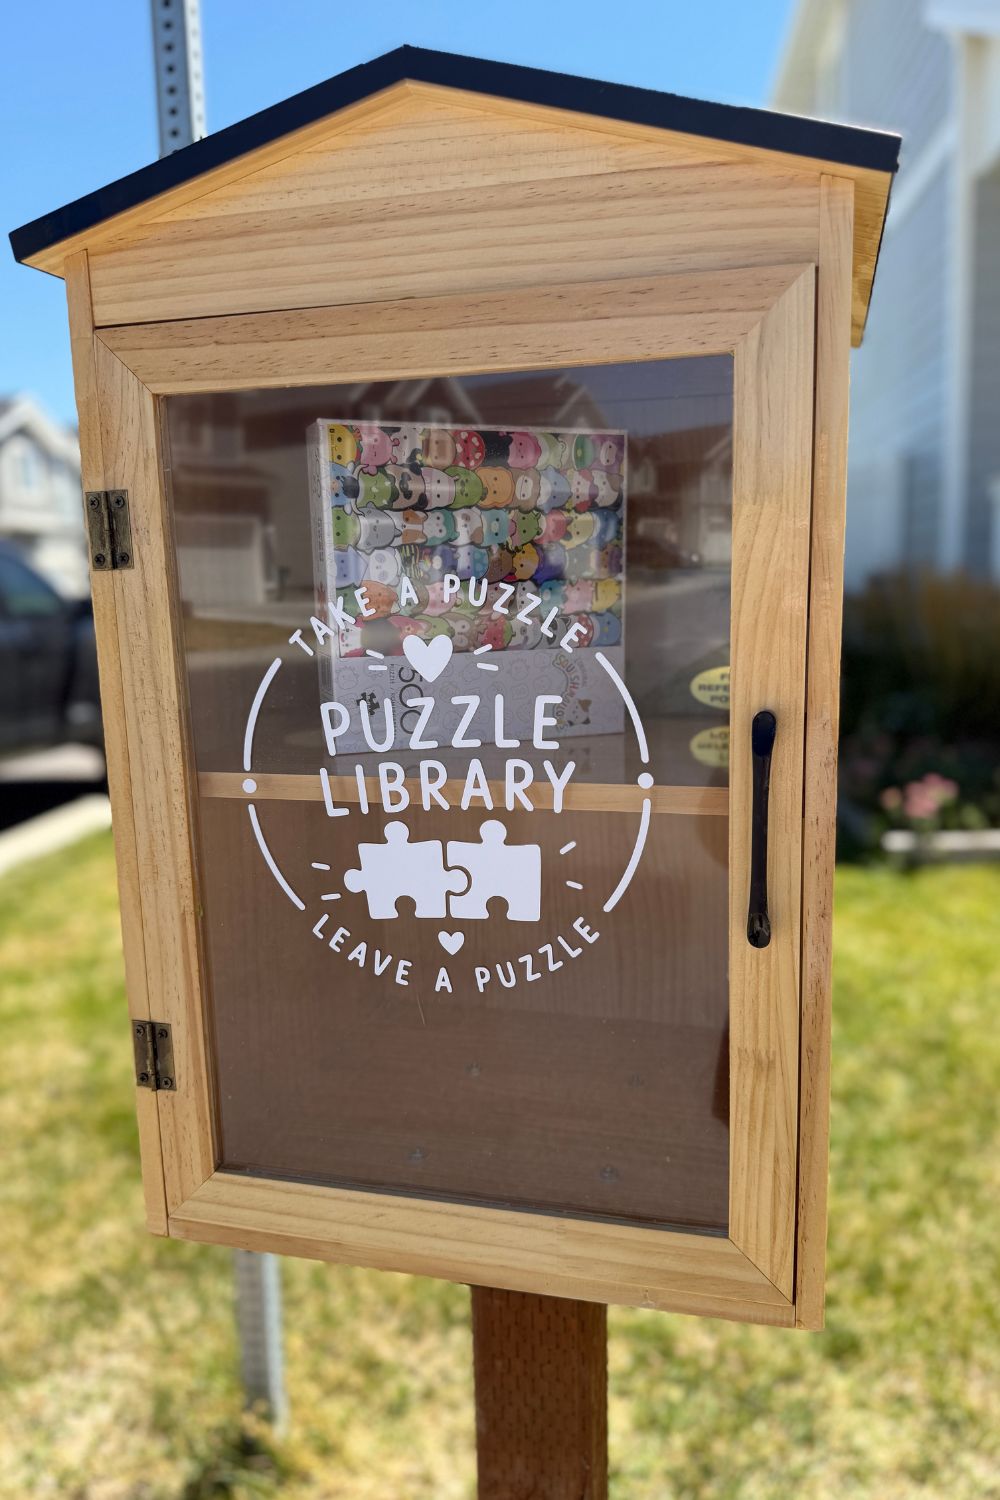
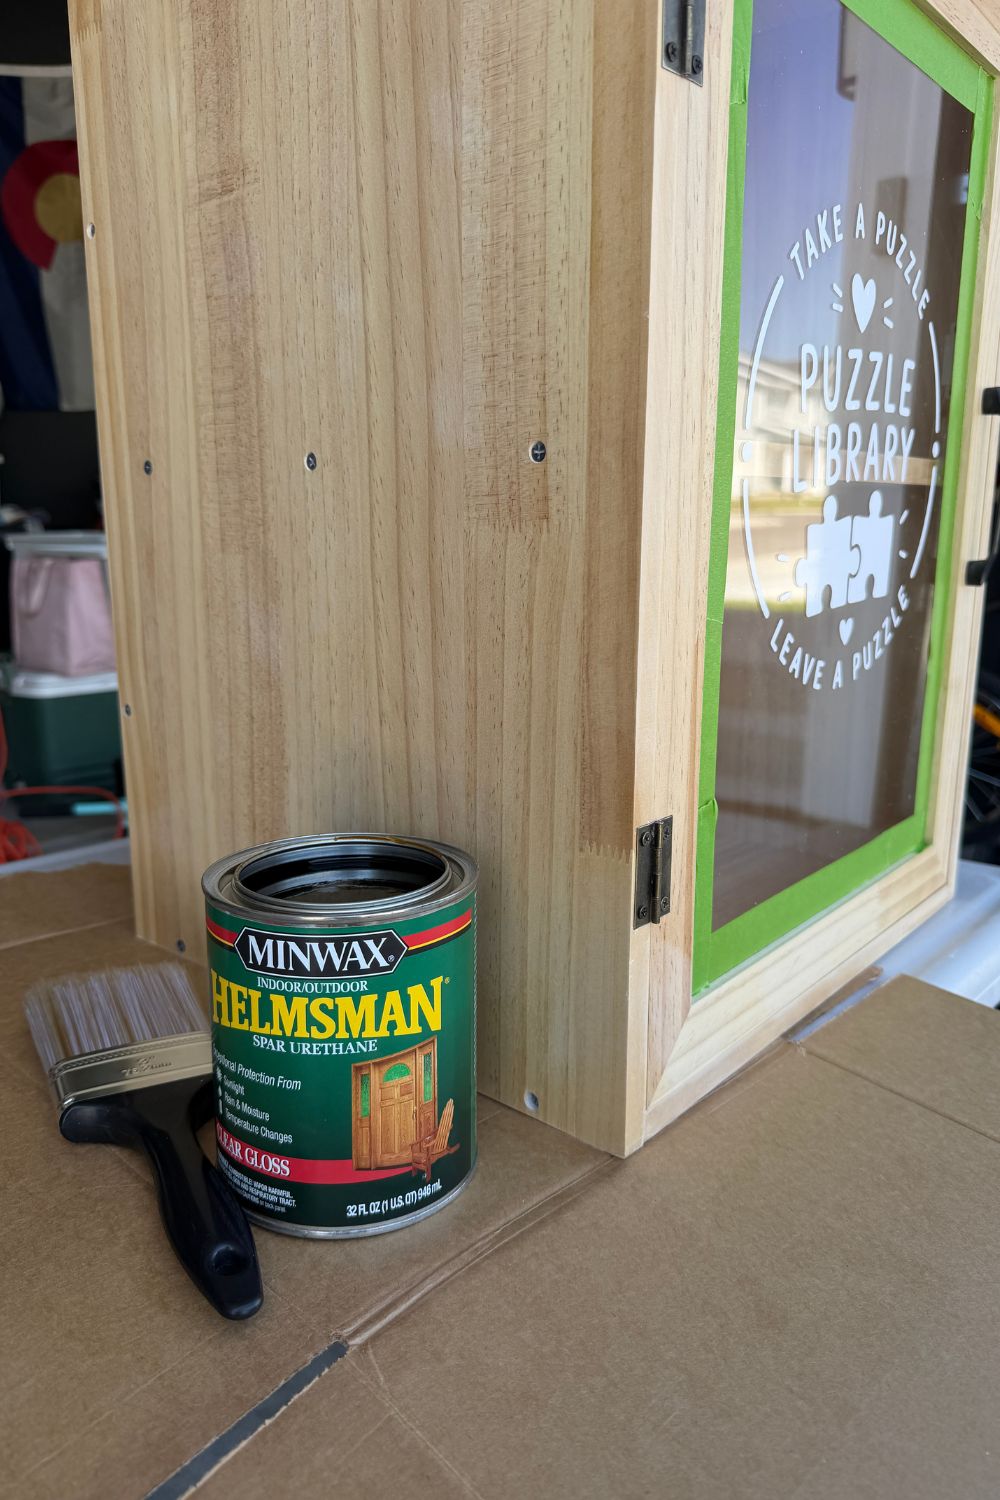
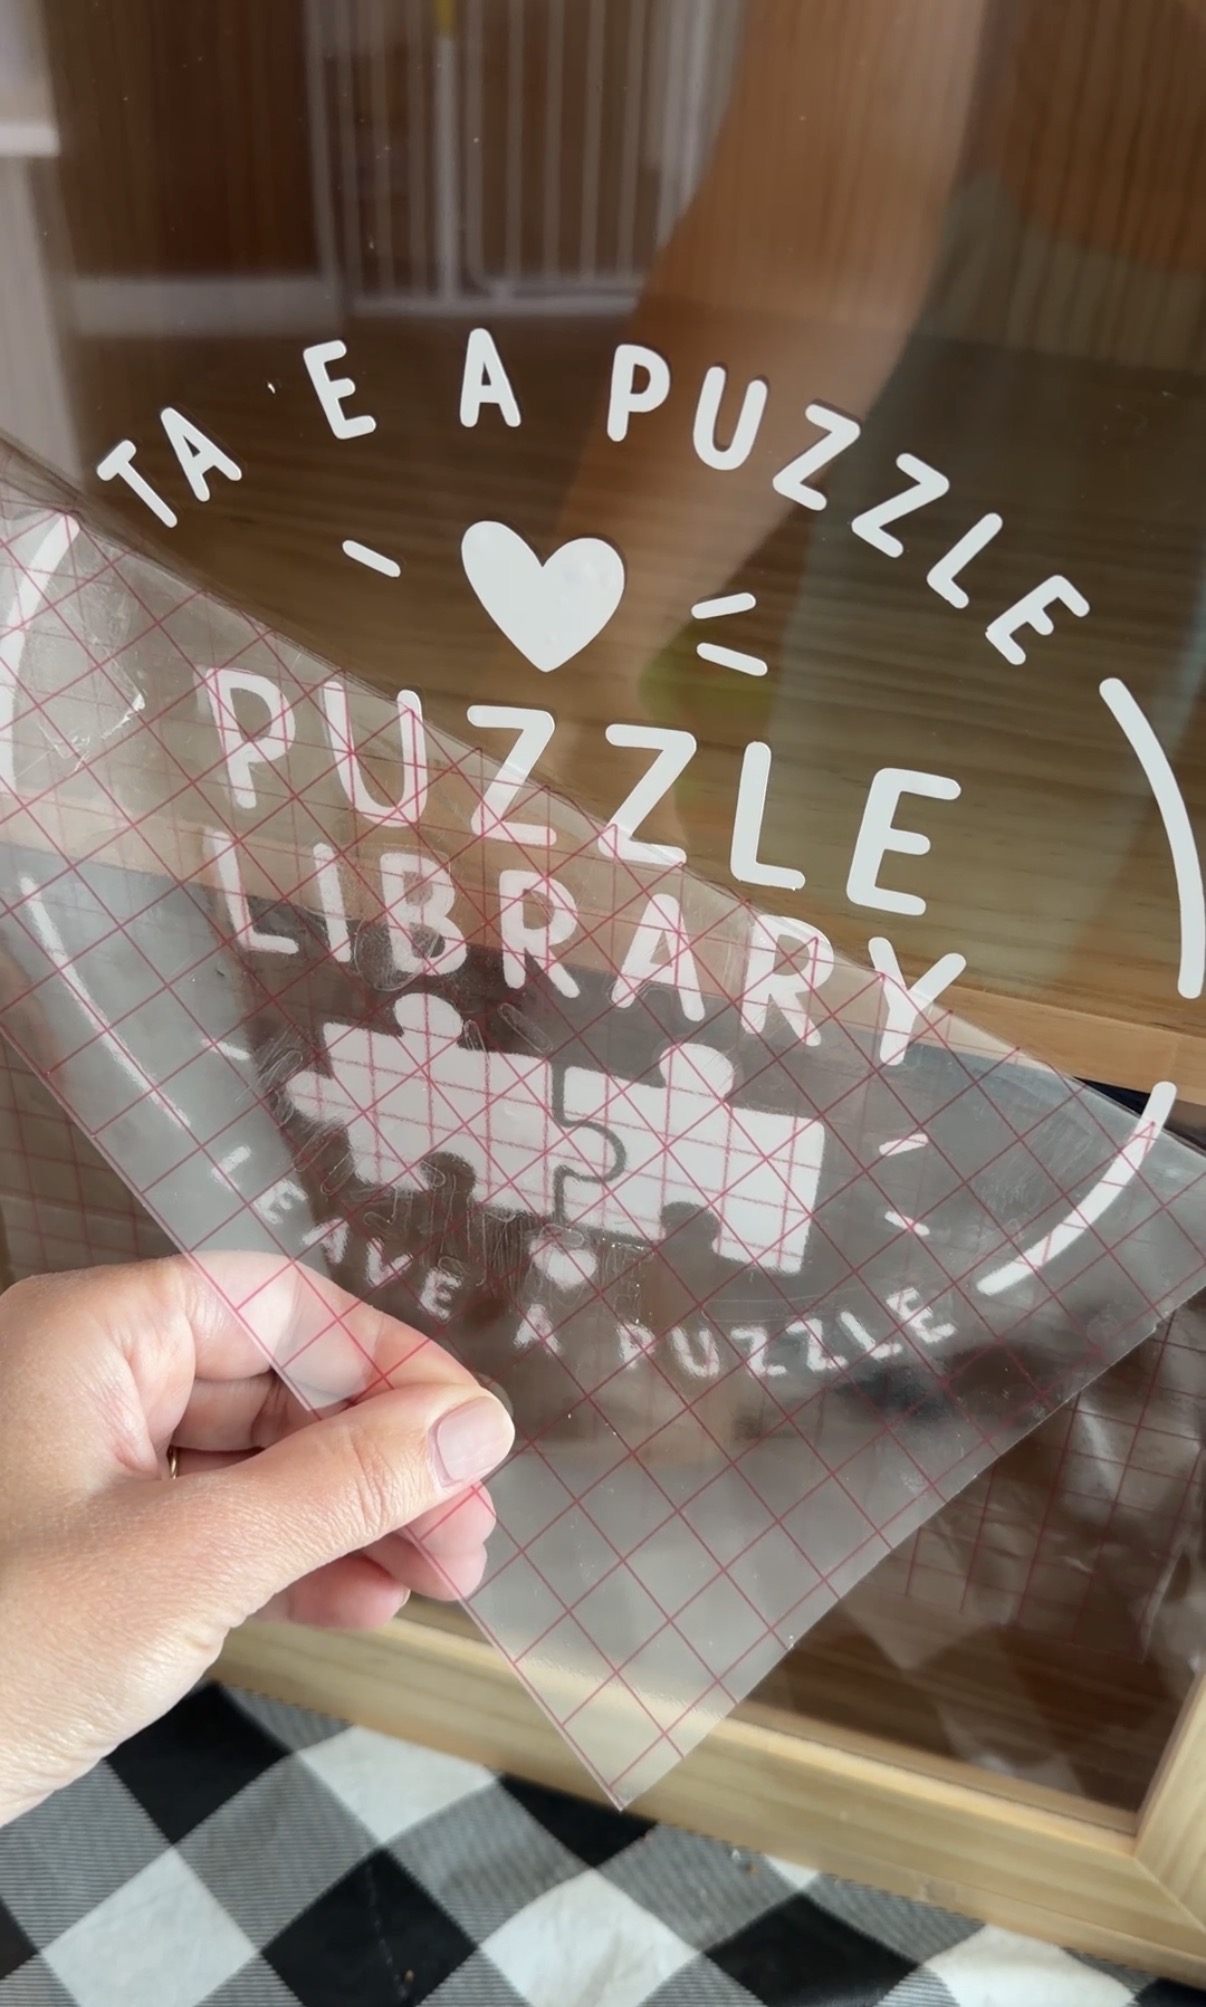
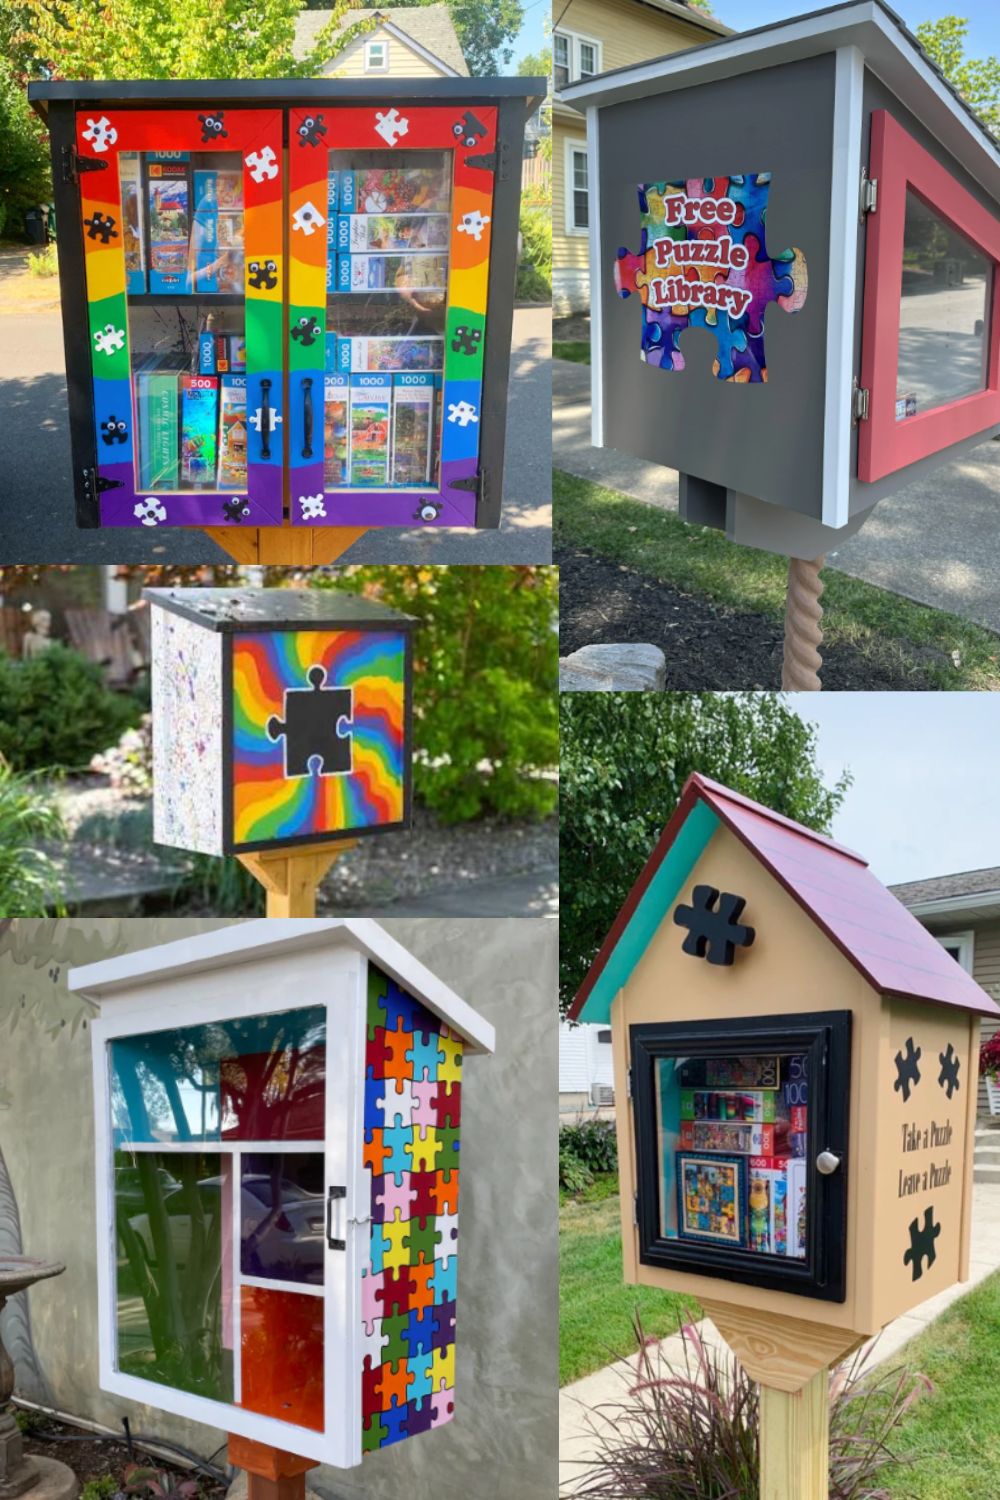
Once you’ve chosen your library, it’s time to make it your own! I’ve seen so many creative puzzle library designs, so have fun with it. I kept mine simple by designing a custom logo, then used my Cricut/Cameo machine to cut it out of vinyl and apply it to the front.
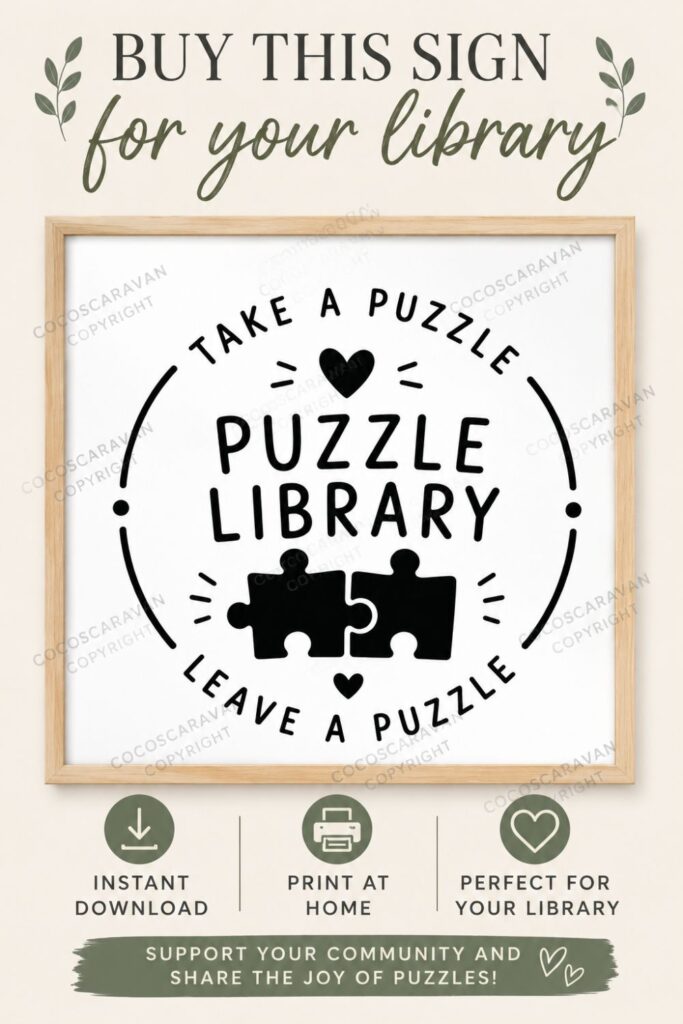
If you love my design but don’t want to make your own, you can purchase the file and use it for your library too. Before installing it, don’t forget to weatherproof the wood with an exterior sealant so it will hold up for years to come.
Purchase My Puzzle Library Sign
Step 3: Pick the Perfect Location
The next step is finding the perfect location. The easiest option is putting your puzzle library in your own front yard, but that didn’t work very well for our neighborhood. I originally wanted to place ours in the community common area, but after reaching out to our HOA, they decided not to allow it. If you’re hoping to use a shared neighborhood space, be sure to check with your HOA or property manager first.
Thankfully, a friend who lives right next to the common area offered to host it in her front yard, and it actually ended up being the perfect spot. There are lots of great location options just make sure you have permission if you’re placing it anywhere other than your own property.
Step 4: Install Your Puzzle Library
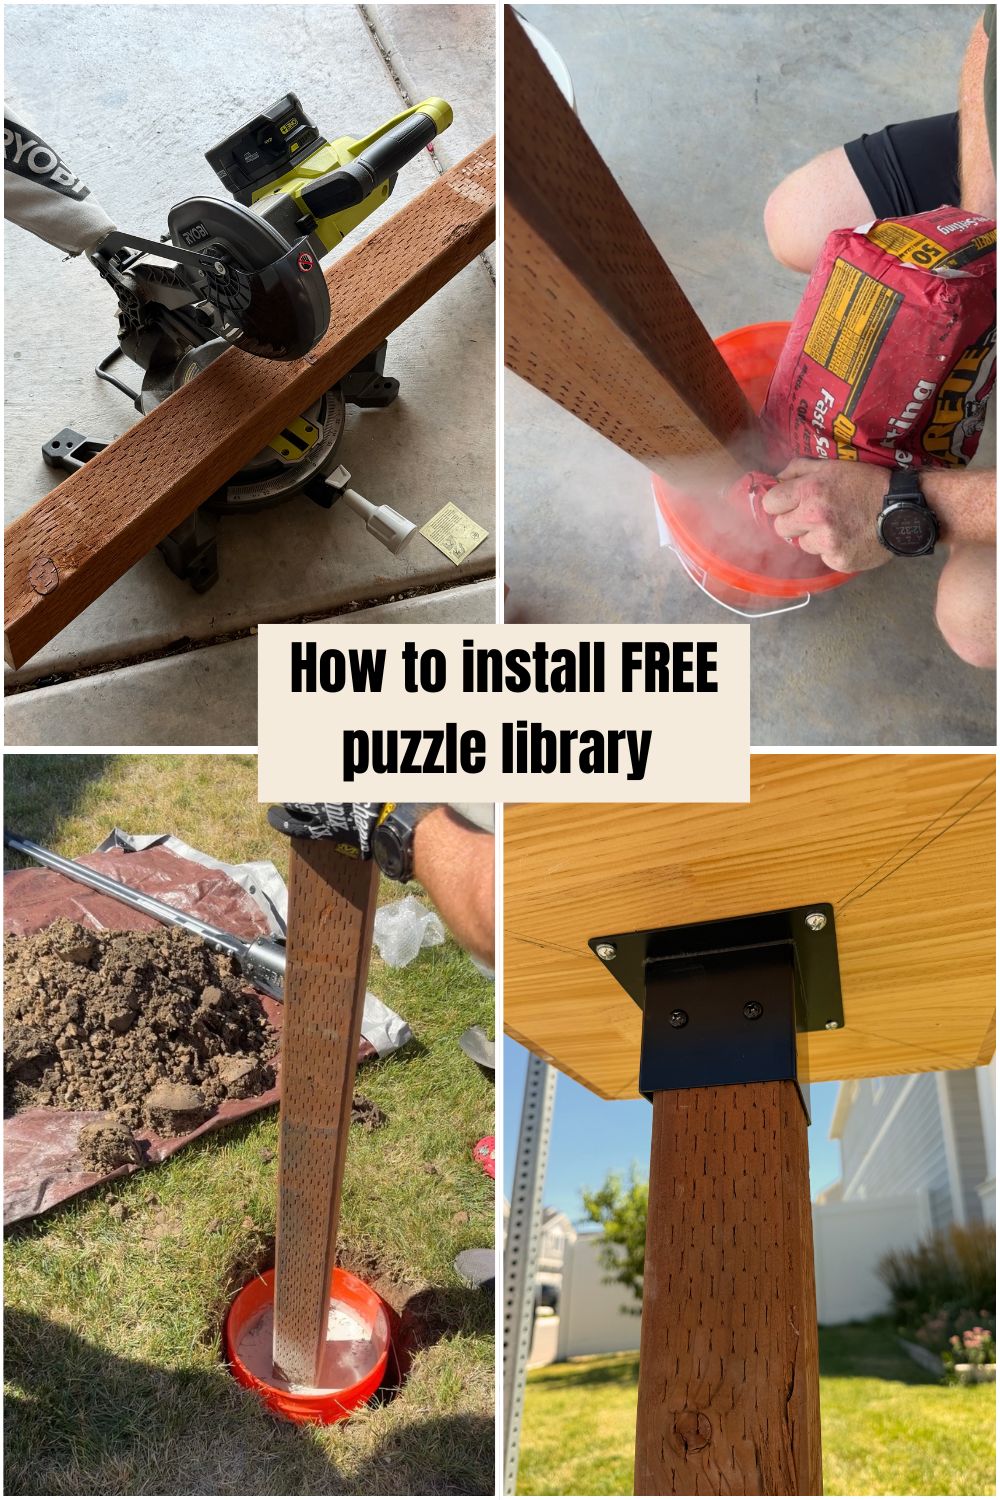
The final step is installing your puzzle library. I used a 8 foot pressure-treated 4×4 fence post from Home Depot and had it cut down to 60inches (5 feet). To make it easier to move in the future, I first secured the post inside a Home Depot bucket using quick set concrete instead of pouring concrete directly into the ground. We then dug a hole, placed the bucket inside, and attached the library to a metal post base using bolts, nuts, and screws for extra stability. I definitely had lots of help with this part, and I was so grateful it made the installation go much smoother!
Step 5: Stock Your Library
Now for the fun part stocking your puzzle library! I had been saving puzzles for a while so I’d have a good collection to fill it when it was finally finished. You can use puzzles you already own, find great ones at thrift stores, or ask friends and neighbors to donate extras. It’s so much fun watching the library fill up and knowing each puzzle will get a second life with someone new. Check out some of our favorite puzzles below!
Shop Our Favorite Puzzles

Step 6: Create Simple Rules
The last step is deciding if you want to add a few simple rules to your puzzle library. This is completely optional, but a small sign can help explain how it works and encourage everyone to keep it stocked and organized. Something as simple as “Take a Puzzle, Leave a Puzzle” and a reminder to close the door when you’re done is all you really need.
Step 7: Spread the Word
The last step is to spread the word! I shared our puzzle library in our neighborhood Facebook group so everyone knew it was there and could start using it. You can also register your library on the Little Free Library map to help even more people discover it. The more people who know about it, the more puzzles will be shared and enjoyed by your community.