
How to organize iPhone photos and free up space
If you want to declutter and organize iPhone photos I’ve got your back. I’ll show you how I declutter my photos to save space and how I organize them so I can easily find photos.
Table of Contents
Why you should organize iPhone photos
Organizing your iPhone photos can have several benefits. Firstly, it can save you time and effort when you’re looking for a particular photo. Instead of scrolling through thousands of photos, you can easily locate the image you want in a specific folder or album. Secondly, organizing your photos can help you preserve memories better.
By categorizing photos by date, location, or event, you can create a more meaningful and organized collection that tells a story of your life. Thirdly, it can free up space on your iPhone, making it run smoother and faster. By deleting duplicates or unwanted photos, you can also save storage space and improve the performance of your device. Lastly, it’s simply satisfying to have an orderly and well-organized photo library that you can easily browse through and share with others.
Step 1: Back Up Your photos
The first step to organize iPhone photos is to back them up before you start deleting. Before I start any deleting I always back up my iPhone photos to the cloud and to my hard drive. You can delete duplicate photos or unnecessary screenshots before you back up. (see step 2 on how to do that) Just make sure you back up before deleting important photos. You never want to lose those!
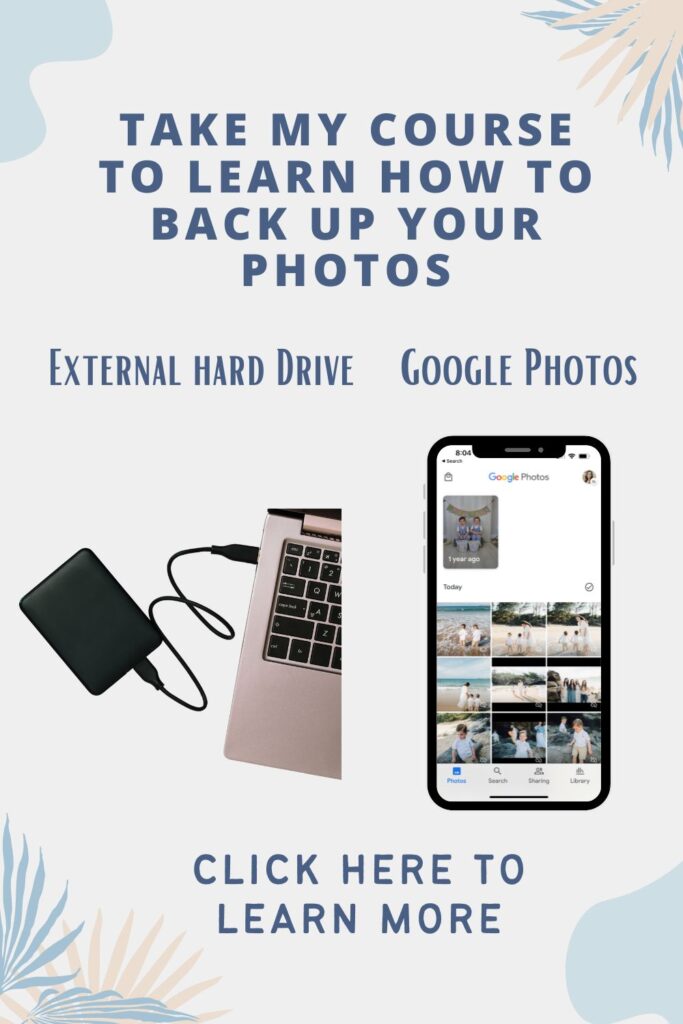
If you don’t know where to start in learning how to back up your photos I’ve got your back. I made an online course showing you how to back up your photos to a hard drive and to Google Photos. By the time you finish this course all your photos will be safe and backed up physically and digitally. You will know where they are and be able to view them when you want. You will be set up for automatic back up so you will never worry about losing a photo again!
Will the iPhone photos be deleted from my iCloud backup storage?
When you delete a photo or video from the iPhotos app on your iPhone, iPad, or Mac, it also deletes from your iCloud photos and any other devices where you’re signed in to iCloud photos. It also no longer counts towards your iCloud storage.
How to delete photos from iPhone but not iCloud
You can delete photos from your iPhone, but keep them in iCloud by turning off iCloud photo sharing. As long as there’s space on your iCloud account, it automatically syncs with Photos on the iPhone. Any photo on the iPhone or iCloud is the same and not a copy. Any photo deleted from iPhone is also deleted from iCloud if the sync is enabled.
Follow these steps to turn off iCloud syncing.
- Open settings from your iPhone home screen and tap on the Apple ID with your name
- On the Apple ID screen, select iCloud > photos
- Use the toggle switch for iCloud photos to disable syncing
- With the connectivity between iPhone and the iCloud disabled, you can safely delete photos from your iPhone. It will no longer be backing up photos though because you disabled that.
Another workaround is to use a different cloud server to back up the photos before deleting them on your iPhone. This is why I highly recommend backing up to Google Photos instead. Not all cloud-based storage services work like iCloud. If you back up your iPhone photos using Google Photos or Google Drive, the photos that have been synced to the cloud storage won’t be removed even if you delete the photos from your iOS device. Therefore, if you want to delete photos from your iPhone without removing them from cloud storage, just switch to other cloud storage services like Dropbox, Google Drive, and Google Photos for help.
Step 2: Declutter by deleting unwanted photos
The second step to organize iPhone photos is to delete unwanted photos. The deleting is probably the most time consuming part of decluttering and organizing your iPhone photos. I usually do this while I’m watching a tv show. Just set a timer and do 30 minutes of deleting every night for a week. This way it won’t feel so overwhelming.
Delete Duplicate Photos
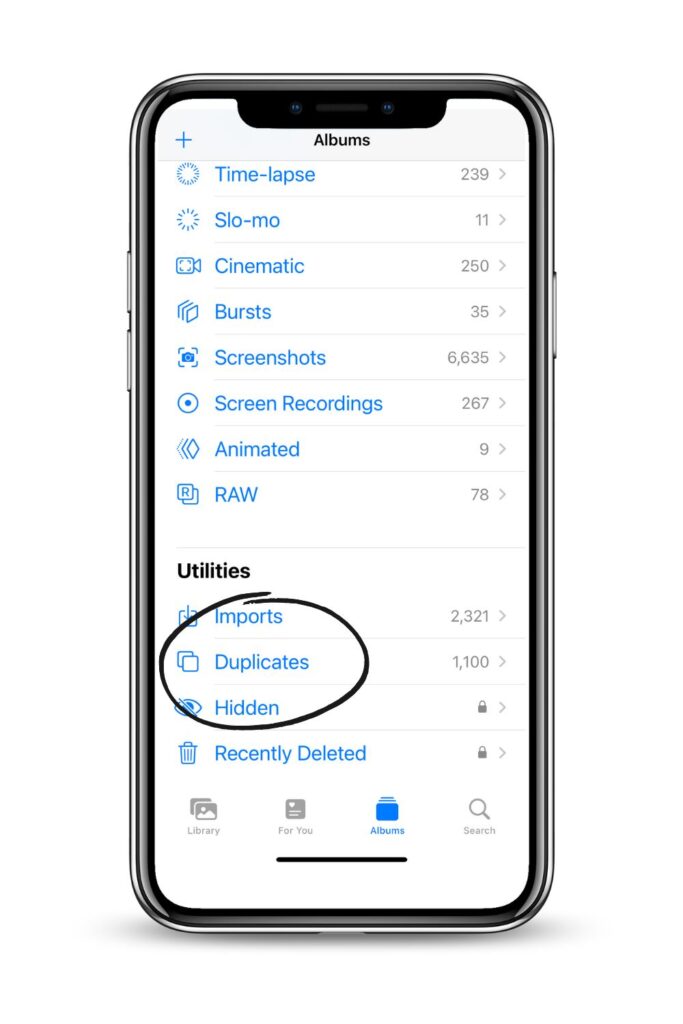
If you select the photos app and scroll to the bottom you will see the word “duplicates” under the word Utilities. Click on the word “duplicates” and it will show you all the duplicate videos and photos in your camera roll.
Delete Unnecessary Screenshots
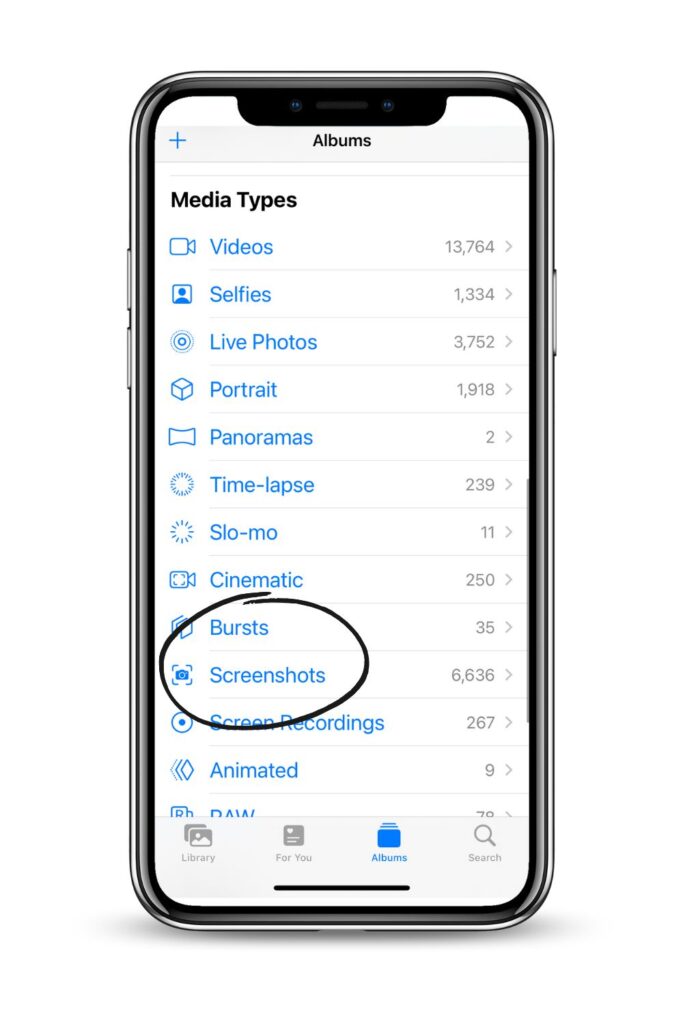
I would say a huge chunk of my photos are screenshots that you don’t need anymore. iPhone makes it very easy to find all your screenshots. If you go into the photos app and scroll to the bottom under “Media Types” you can select the word “screenshots” and see them all in one folder.
Recently Deleted
Once you delete a photo it will go in the “Recently Deleted” folder and will stay there for 30 days. So if you accidentally selected a photo to delete you can go into the recently deleted folder to recover it. If you need space now then you can go and permanently deleted the photos and videos in the “recently deleted” folder. Remember once deleted in the “recently deleted” folder they can no longer be recovered.
Step 3: Add Keywords and Tags on Photos
If you go into the photos app you will see “People and Places” you can add names to the people in your photos. You can also add locations to your photos as well to see what pictures you took in different places you have been.
This just makes it easier when you are searching for pictures of people. The search engine on iphone photos isn’t as good as the search engine on Google Photos. I do most of my organizing and searching in google photos.
Step 4: Create Albums
Creating albums is the best way to organize your photos to easily find later. This is the best way to organize iPhone photos. I have thousands of photos on my phone so creating albums help me a ton. I’ll make albums of a vacation or holiday. I’ll make albums of my favorite pictures to make into a photo book.
Now that I have Google Photos I make most of my albums there because I won’t run out of space. If you purchase my Organizing Digital photos course I go more into detail about why Google Photos is the best and how you can set it up on your phone so your photos will always be backed up to the cloud via Google Photos.
How to create an album on iPhone:
- Open Photos
- Go to Albums and tap the add button
- Tap new Album. Type an album name, tap save, then choose photos and videos that you want to add.
- Tap done.
Google Photos
Part of my Organizing Digital Photos course is teaching you how to back up your photos to Google Photos. I will show you how to set up a Google Photos account and teach you all about the awesome features Google Photos offers. I will also show you how to organize your photos in Google Photos so you can easily find any photo you need. Learn more about the course HERE.
Pin this to Pinterest to easily find later
You might also be interested in:
Organize Digital Photos Course