
How to take your own cake smash photoshoot
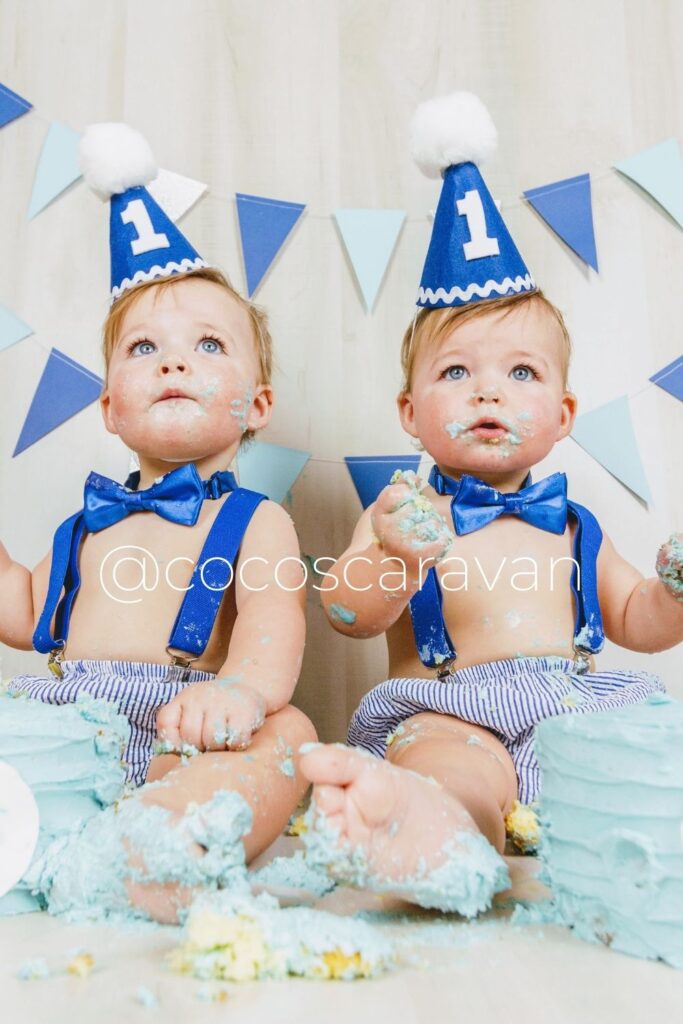
This blog post will include everything you will need to recreate this adorable cake smash photoshoot!
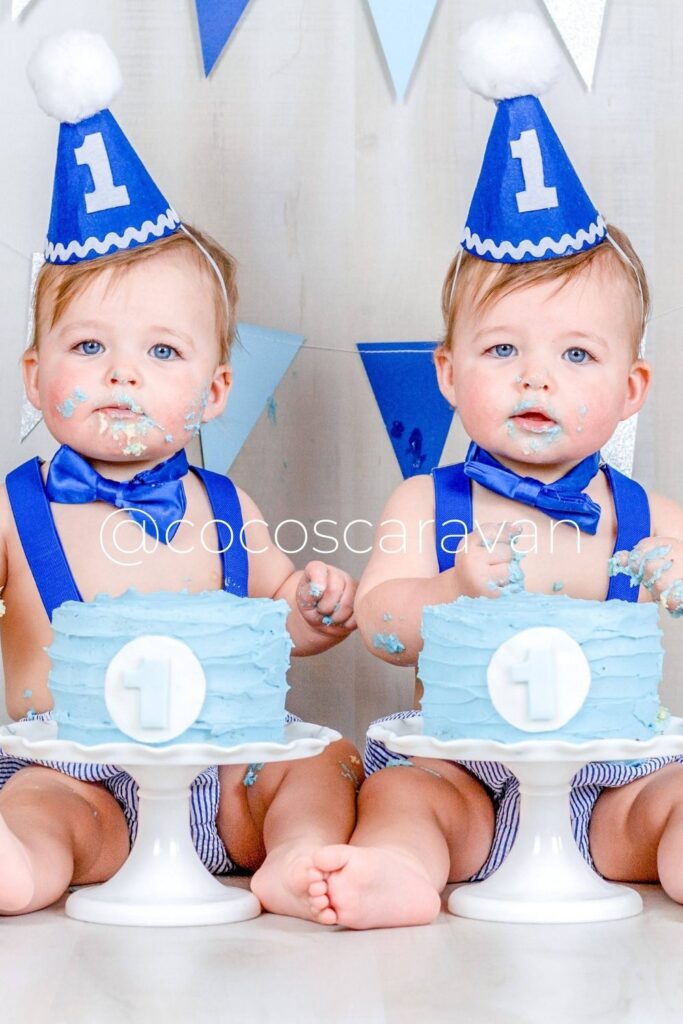
I survived one year with twins and I’m pretty darn proud of myself. It feels like it went fast, but there were some long hard days in-between. I wanted to go all out for their first birthday and decided to do my own cake smash photoshoot. I looked up some photography studios near me and it was going to cost between $300 to $500 to get their photos done. I decided I could try save the money and do it myself. If you are interested in some other DIY photoshoots I have done you can check those out HERE.
Table of Contents
Five Tips For your Cake Smash Photoshoot
Tip 1: Cake at Room Temperature
The first tip for your cake smash photoshoot is to make sure the cake is at room temperature. If the cake is too cold they might not want to touch the cake or be able to dig into it.
My cousin made these cakes the night before the photoshoot. We kept them in the fridge overnight and then took them out of the fridge that morning so they had time to get back to room temperature.

Tip 2: Don’t Feed Baby Before Photoshoot
The second tip for your cake smash photoshoot is to make sure not to feed your baby a lot before the session. You want your baby to be interested in the cake and actually eat it. I gave the boys a couple ounces of milk right before so they were still happy. You want to have a good balance of keeping them hungry, but still happy!
Tip 3: Do Photoshoot Right After Their Nap
The third tip for your cake smash photoshoot is to do it right after their nap. If you do it right after they wake up they will be more happy for the photoshoot. I woke my boys up and gave them a couple ounces of milk. After eating I got them dressed and did their hair.
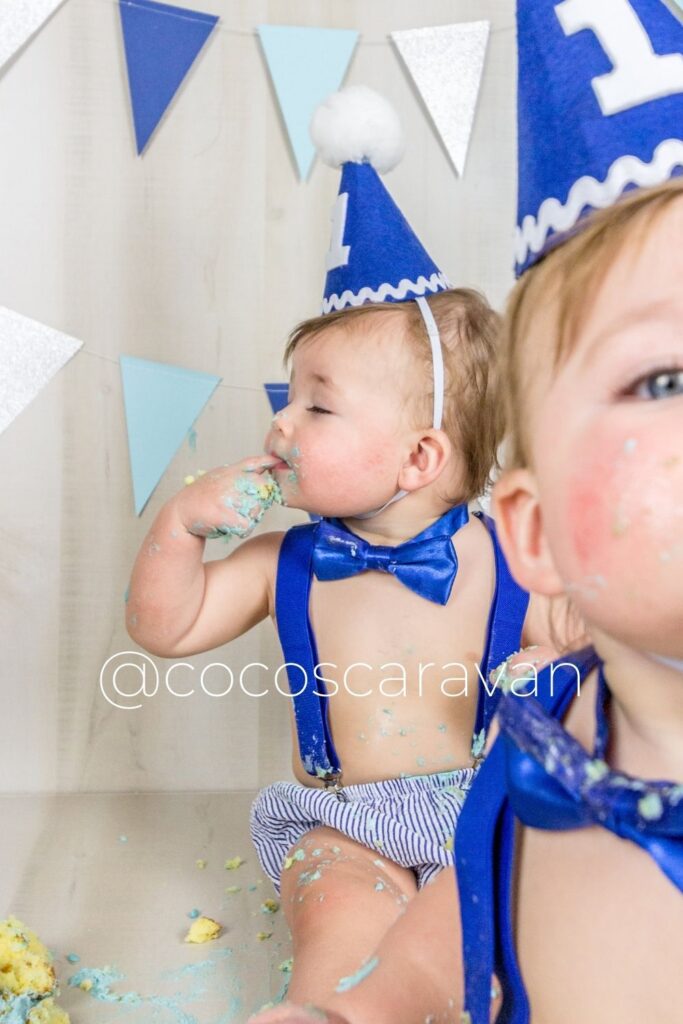
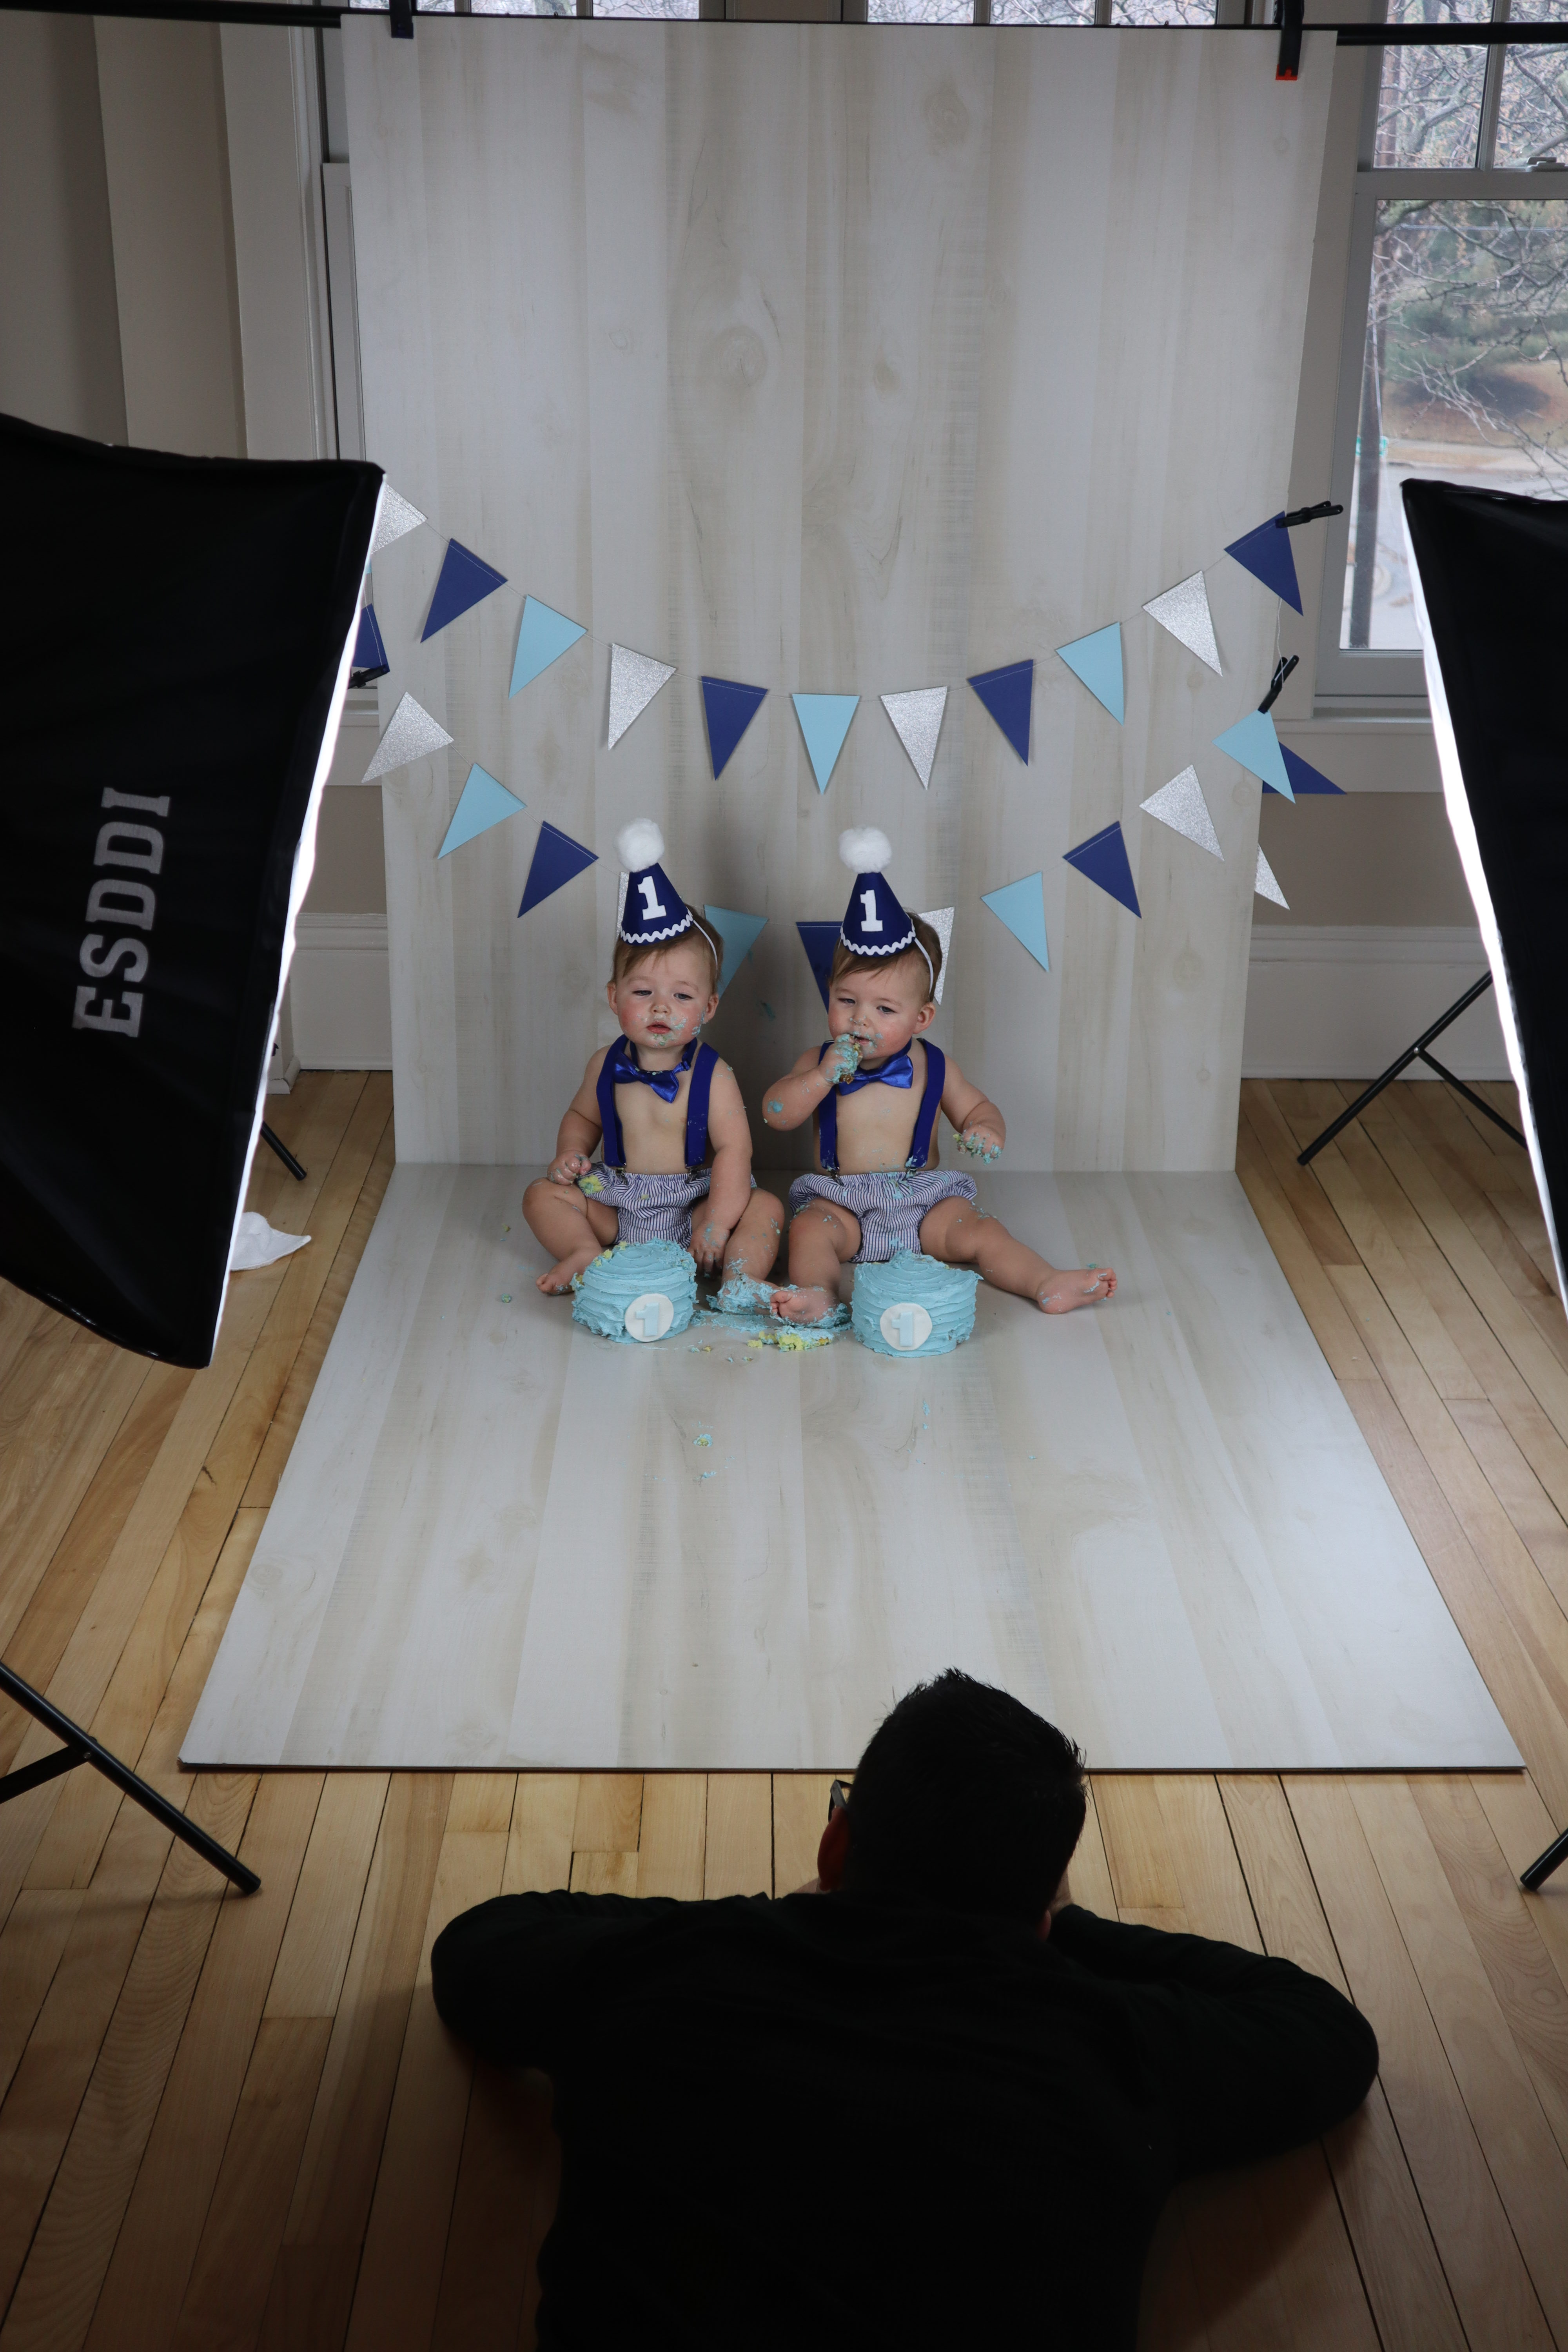
Tip 4: Make Every Second Count
The fourth tip for your cake smash photoshoot is to make every second count. Don’t expect your baby to last long very long. I would expect it to last about 10 minutes before they start to crawl away or get fussy. I let them explore the cake on their own for a couple minutes before I started to help. I had to dig into the back of the cake to help them get the idea. Once they started to crawl away I knew they had lost interest and it was time to end.
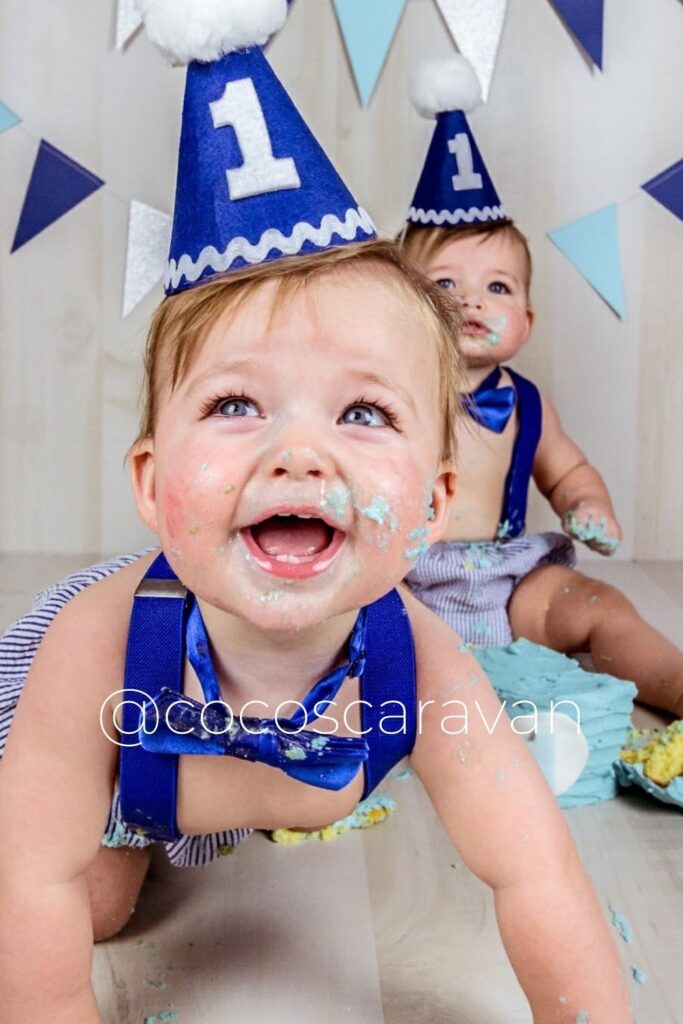
Tip 5: Take a video and have fun with it!
The last tip for your cake smash photoshoot is to have fun. Once you have your perfect picture you can let them have fun. I suggest taking a video after you have your picture. Let them go crazy and get it on film, it will be so fun to watch again someday!
If you are interested in more tips on photographing babies you can check out my blog post on that HERE.
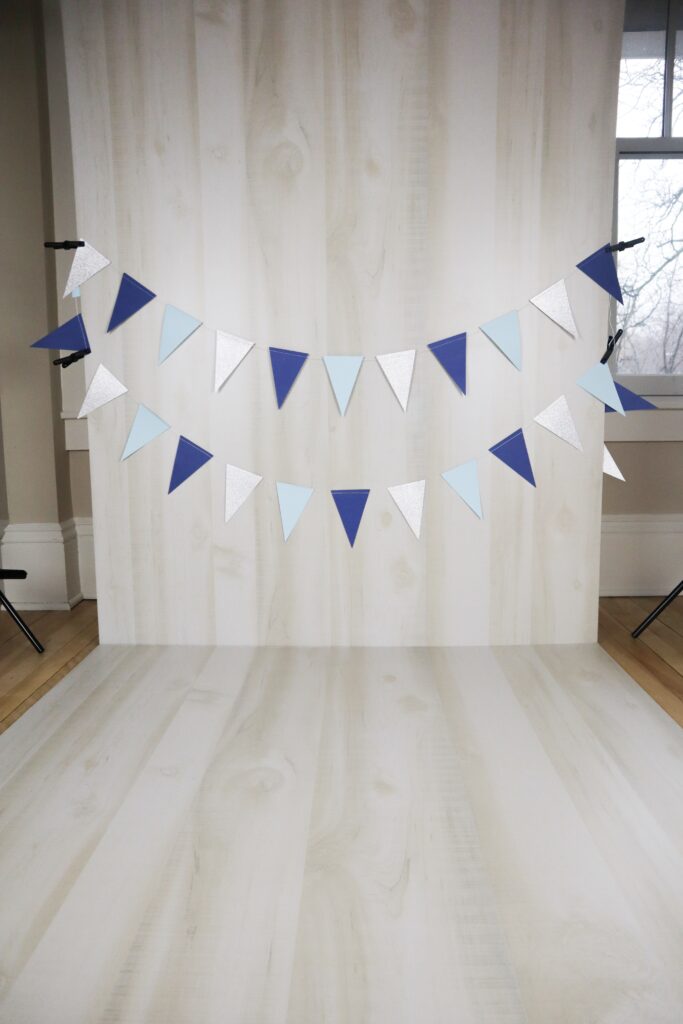
Backdrop
Learn more about how I made this backdrop on my DIY photoshoot course. I also share what photography equipment I use and how I edit my photos. You can find a link to that course HERE.
LEARN HOW TO TAKE YOUR OWN PHOTOS AT HOME WITH MY ONLINE COURSE!
I go more into detail on how to take your own photos at home and get them to look professional. I have video footage of me showing you how I made my wooden backdrop. I’ll share with you all the photography equipment I use. I’ll teach you how to edit your photos to add presets and remove unwanted objects from a photo. Tips and tricks on how to get kids to look at the camera and what settings to put your camera on. Everything you need to get that professional photo, but at home! Check out my course HERE.
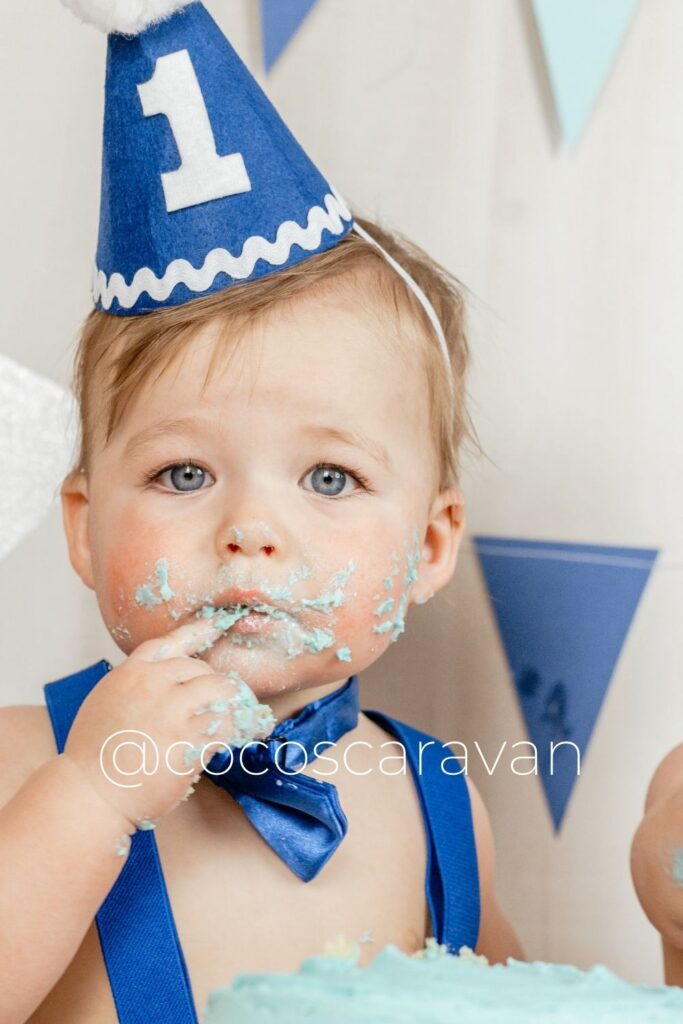
First Birthday Hats
I was looking on Etsy for party hats and they were all so expensive. I decided to make them myself and it was actually really easy.
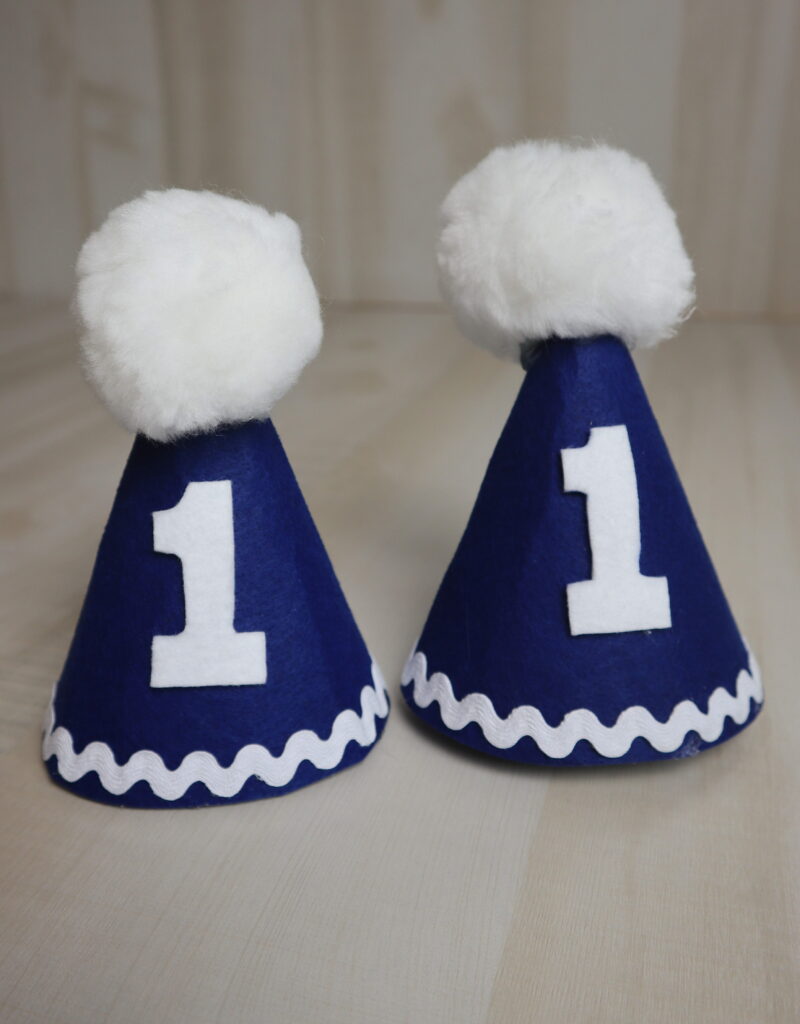
I went to hobby lobby and bought felt squares in the arts and crafts section. I bought two navy blue felt squares and one white felt square. I also bought white pom poms and ribbon. I used this template to cut the shape of the hats and followed her instructions. I then used a hot glue gun to glue everything on the hat!
Outfits:
These outfits are perfect because you don’t want too much clothing to get cake all over, but you want them to have something on. These outfits were the perfect balance for that. I ordered them from amazon and you can buy them HERE.
Total Amount Spent (not including cakes)
- Outfits: $14 each (2)
- Hats: $5
- Banner: $8
- Cake Stands: $11 each (2)
- Backdrop: $28
Total: $104
This is obviously the price for twins so if you have one baby it will cost you about $52 to put together your own photoshoot! I think it was totally worth the money and I’m so glad I did it myself!
This post may contain affiliate links. See my Full Disclosure for further details.
Where did you get the cake?
My friend actually made it! Or you could just order a cake form a local bakery!